
Now and again I come across the (al)most perfect lamp. There might be one or two things that aren’t quite right – the colour, the shade, the texture, etc. Whether that almost perfect lamp was at a thrift shop, was a donation from a friend or family member, or was found at a store, I used to see things as they were, not what they could be. Luckily, in the last few years, my mentality shifted; now, I have the confidence to bring new life to things. I recently brought two life two to (al)most perfect lamps that the “old” me would have turned down because they weren’t quite what I was looking for. But the “new” me made them into what I wanted. Lucky for you, the new me is about to share how I transformed both of these lamps so you can hopefully do the same one day!
Transformation: Rub-n-Buff
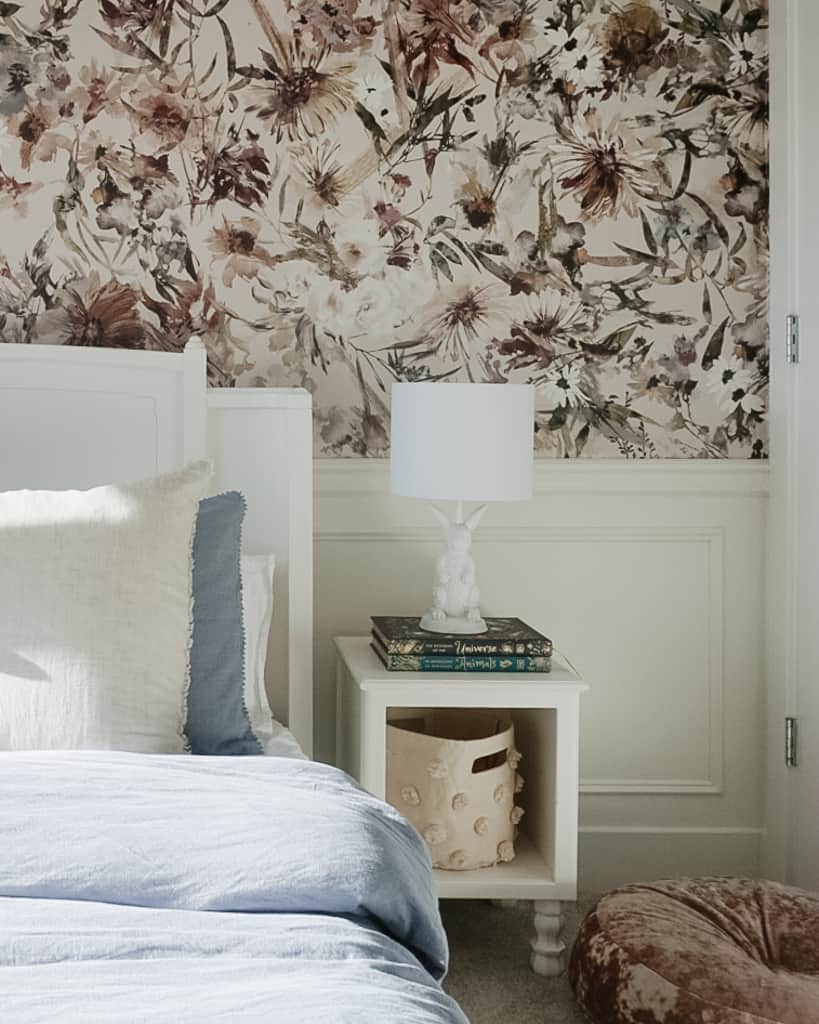
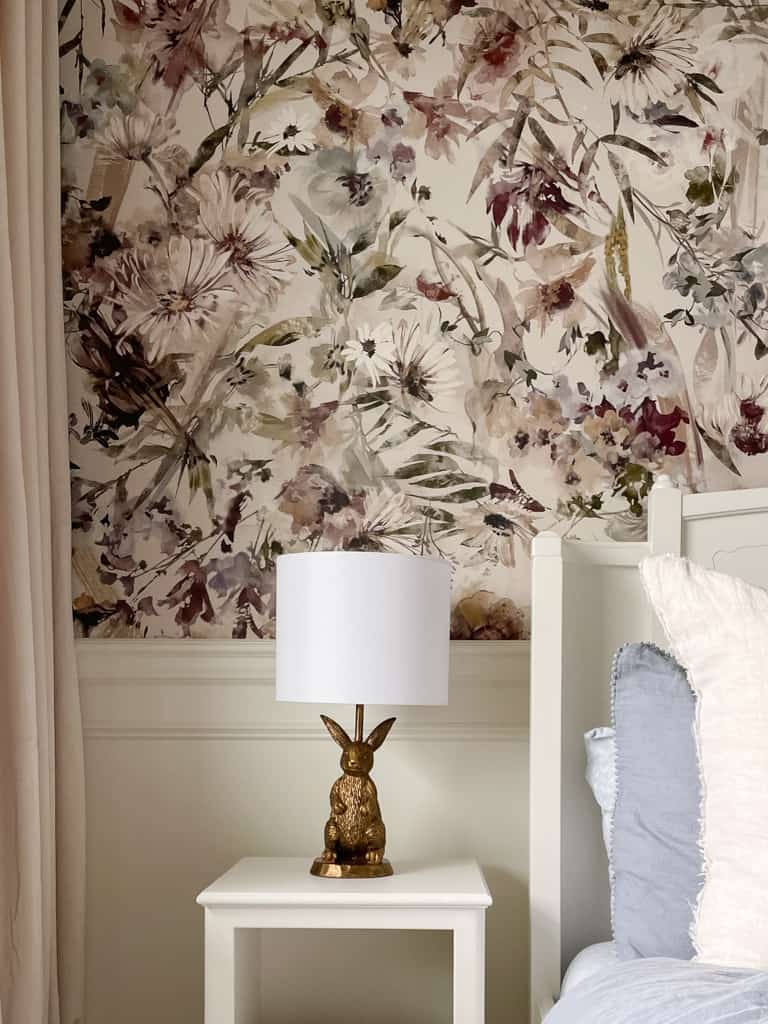
The lamp I originally wanted for Sloane’s room was a small fortune from Pottery Barn Teen – a golden bunny with a beautiful grey/blue shade. It honestly would have been perfect in her room. What I didn’t want was to pay $200+ per lamp for a toddler’s room where there was a 90% chance these lamps would be broken (YIKES!). After a quick Google search, I found another bunny lamp from a Canadian company for $160 for two lamps – WIN. However, there were two problems: the bunnies were white not gold, and the lampshade was also white, not blue/grey. Good thing I’m a problem solver, right?!
This bunny lamp was transformed from white to gold with rub-n-buff. I am relieved to say that I was really taking a chance on the rub-n-buff. This was my third time using it. The first two tries didn’t go so well. Luckily third time’s the charm, right?! Here’s what I learned from my rub-n-buff experiences:
- you need a proper brush to apply the rub n buff (don’t use gloves and your finger – it really doesn’t work), AND
- spray-paint the item before you rub and buff it
Both things helped the rub and buff stick and allowed for an even application.
I still have a white lampshade and I’m ok with it given the bunny is gold. I thought about painting the lampshade which would have worked. I didn’t because I know I would have missed the light that gets diffused out of the linen shade if I did. That being said, if I come across a perfect new shade, I will pick up two and fully have my Pottery Barn bunny lamp dupe.
PS- you can see Sloane’s full room with the bunny lamp here.
Transformation: Baking Soda + Paint
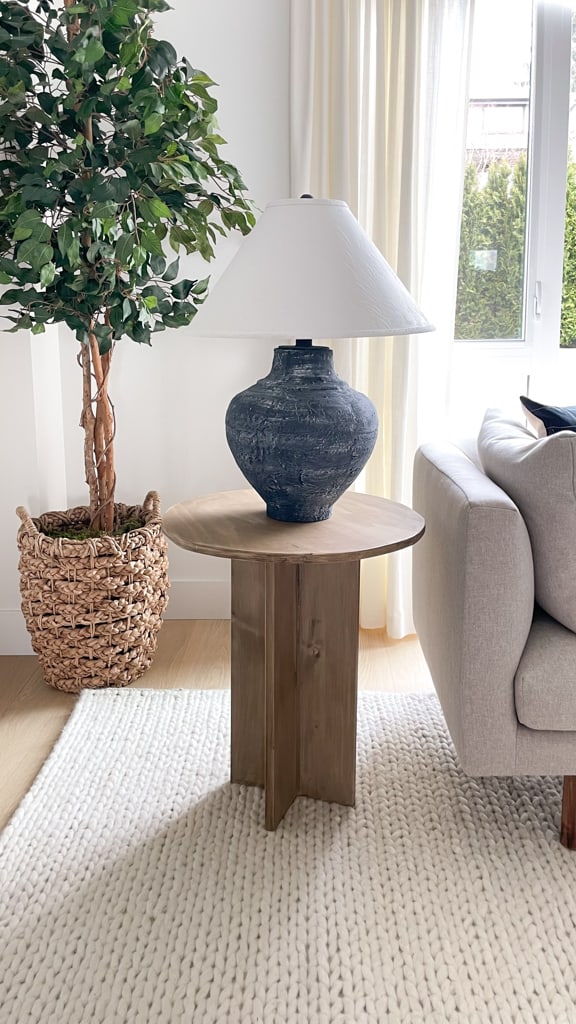
The next lamp I transformed was this beautifully shaped lamp from my mother-in-law. She sent a group message to the whole family asking if anyone wanted this lamp. I immediately fell in love with its shape and but was less in love with the shade pattern and colour/texture of the lamp. Again, I was not letting this lamp pass me by, so I jumped at the opportunity before I even had a plan. When I got the lamp – it was better than I thought. It was not only the perfect shape, but it was also MASSIVE in the best way (see below).
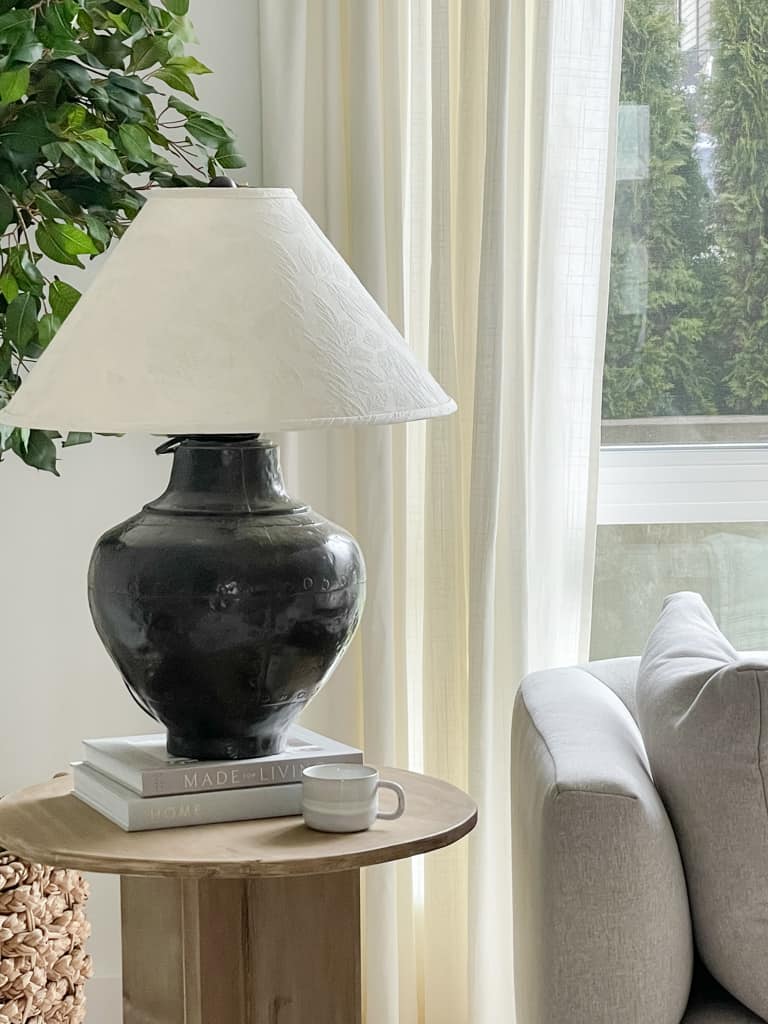
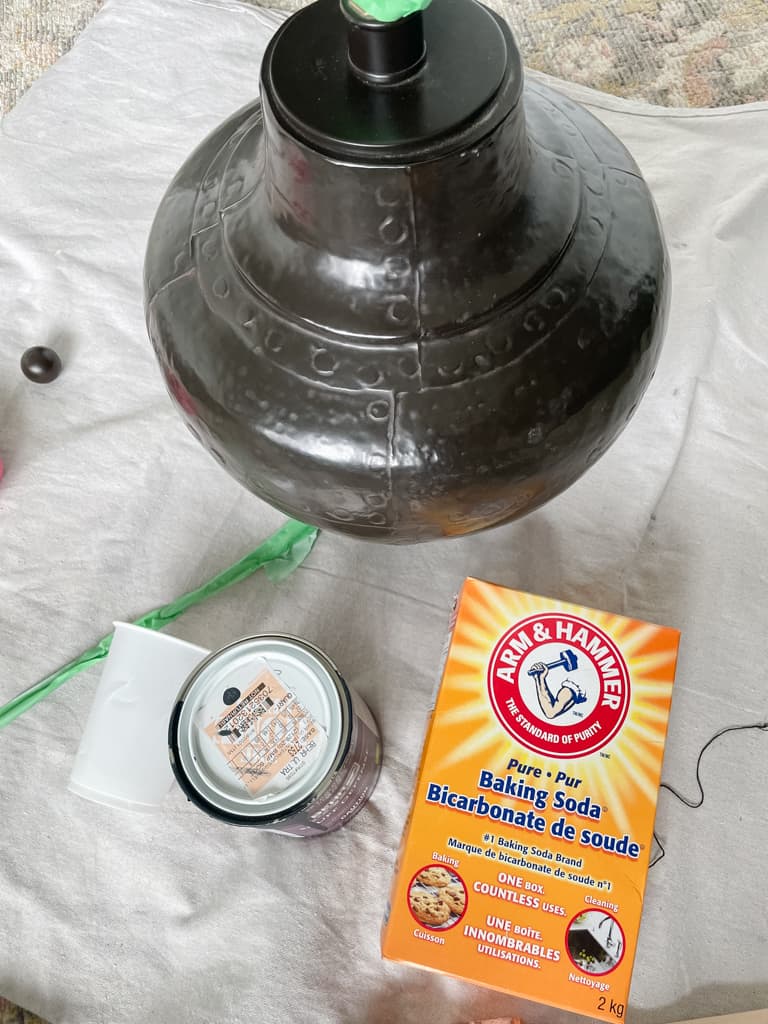
I contemplated using a plaster like I did for this DIY pedestal bowl I did – and in hindsight, it would have worked really well, but I wanted something a little more efficient (you must let the plaster dry for at least 24hrs). I decided to use the paint mixed with baking soda method and LOVE how it ended up turning out. I did three coats – I probably could have gotten away with two but I wanted to keep adding some texture. My ratio was close to 1:1 baking soda to paint which I found gave the lamp the greatest texture. After I was satisfied with the paint/baking soda, I sanded down the lamp slightly. Wiped it clean, and then added a thin layer of white chalk paint to give it a more antique vibe that I was looking for.

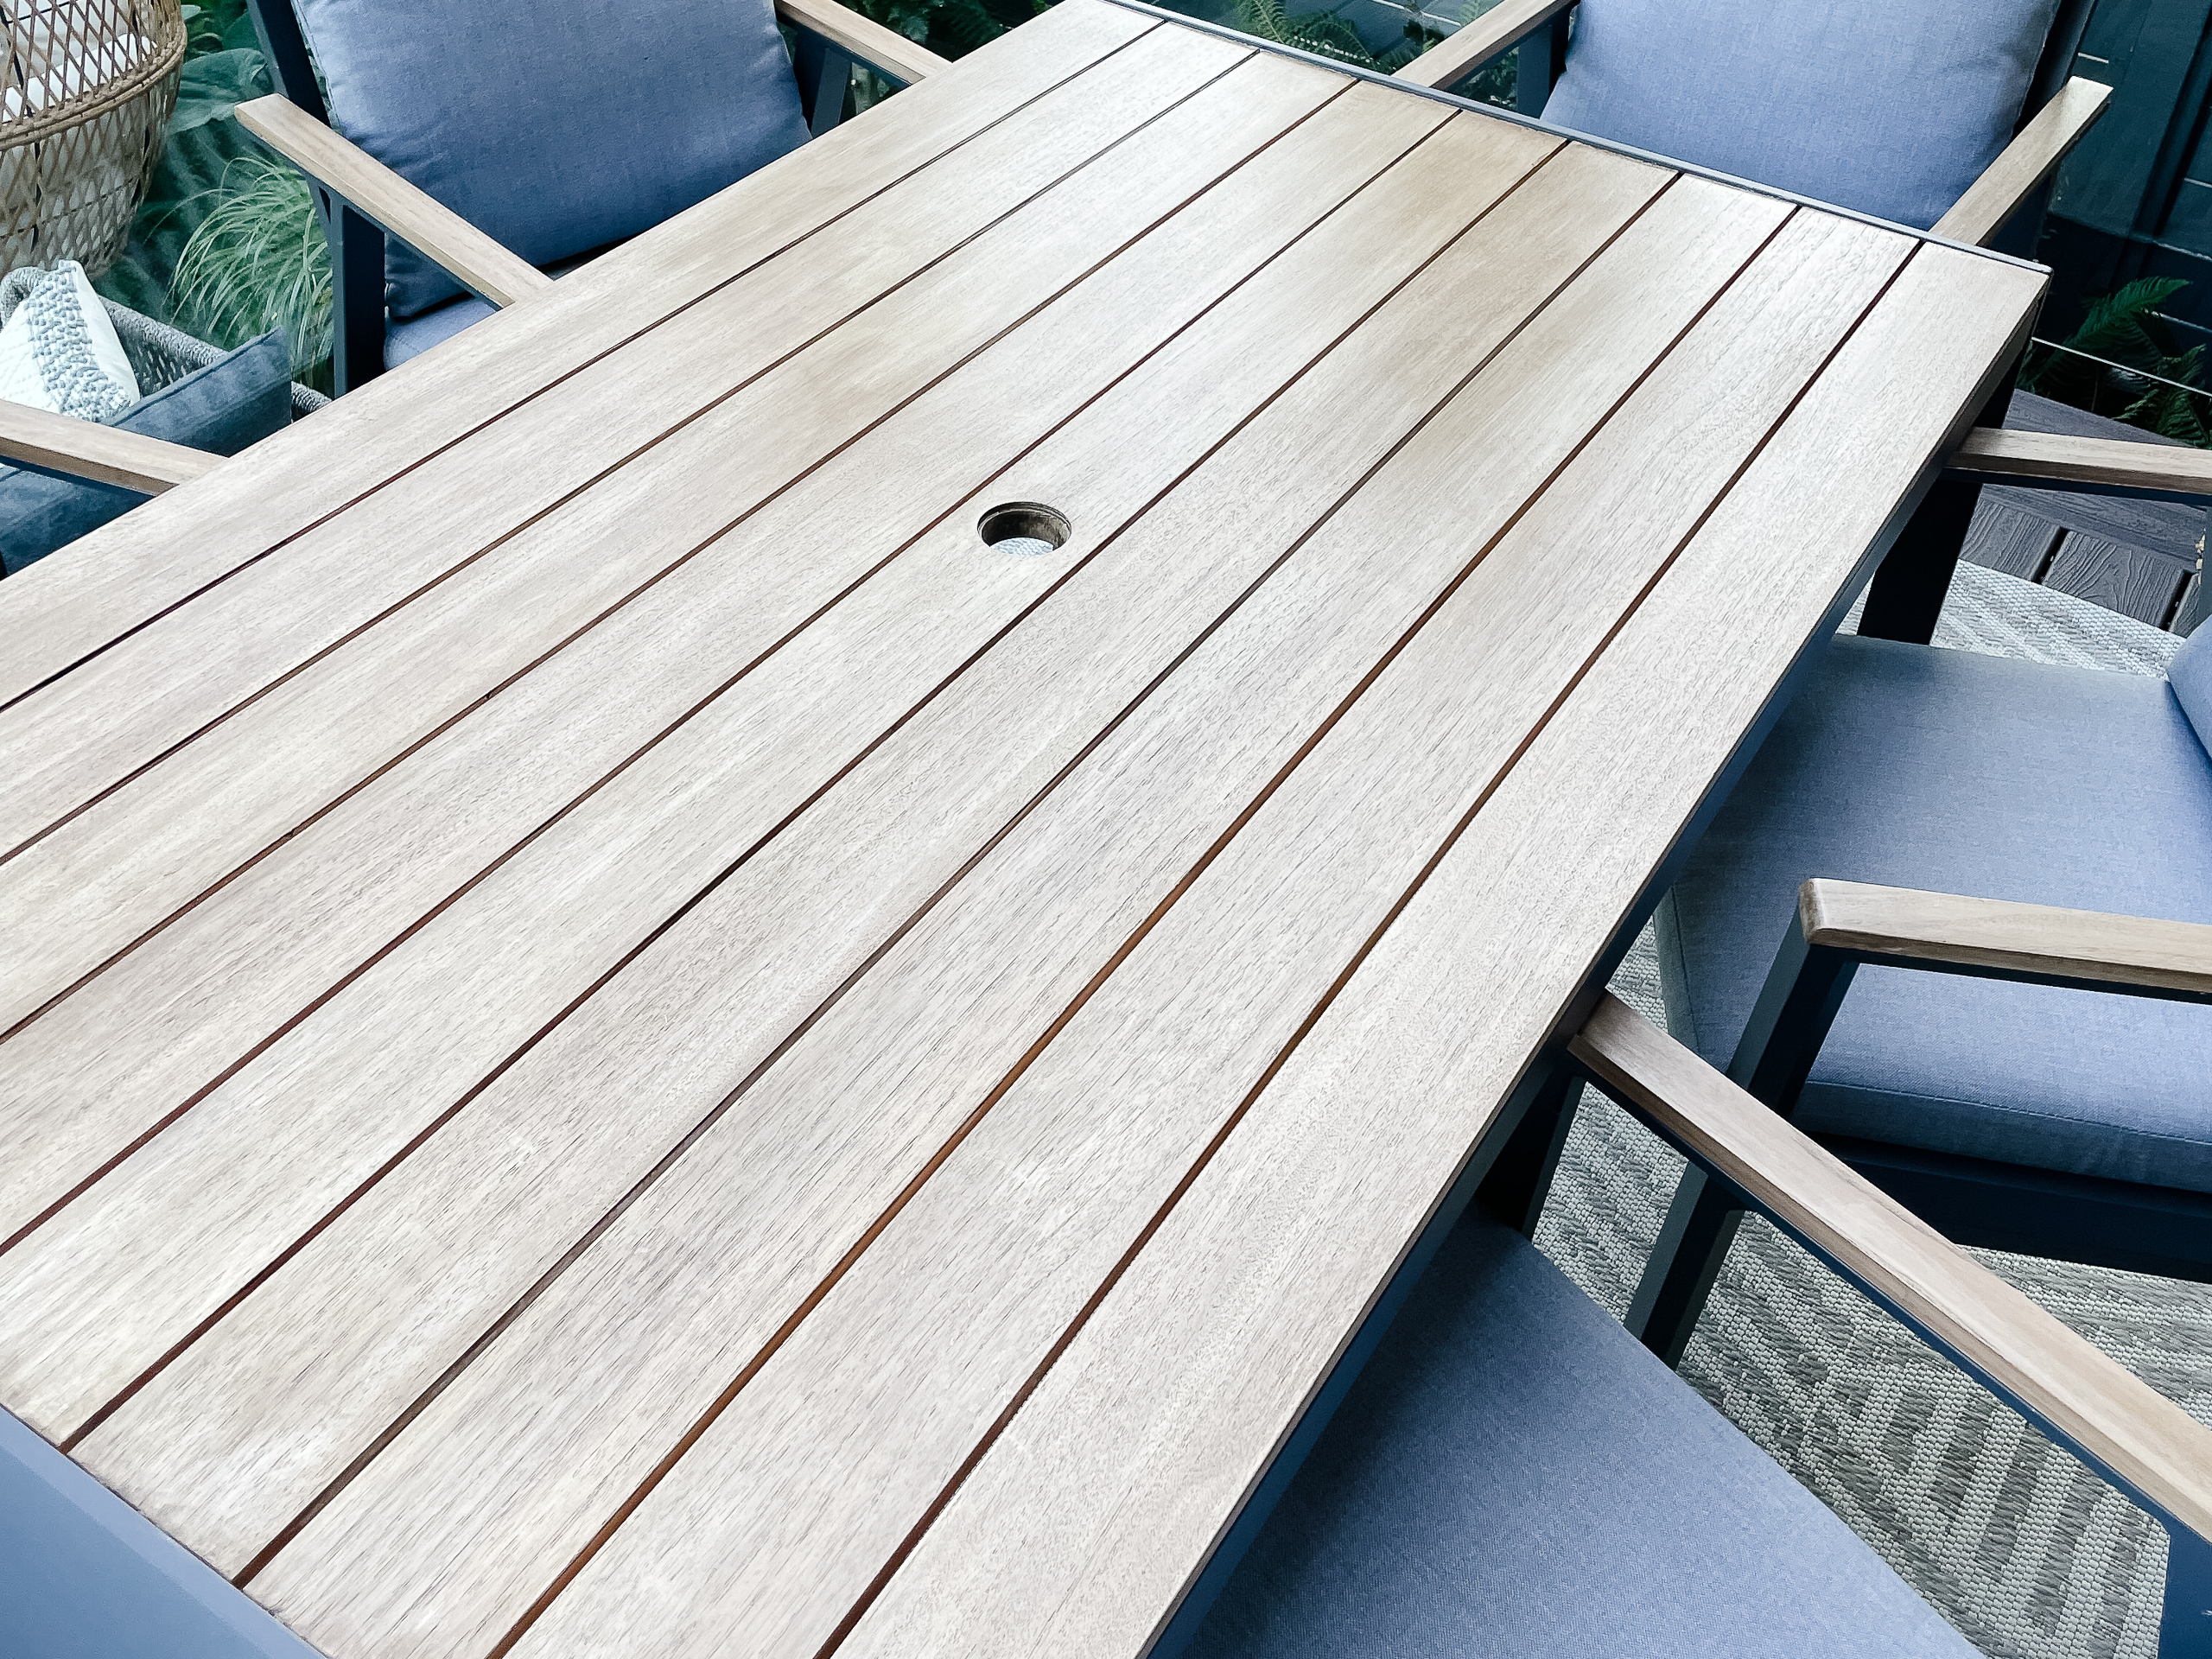
If you're thinking of refinishing your outdoor patio furniture, I would say you could do it. This DI
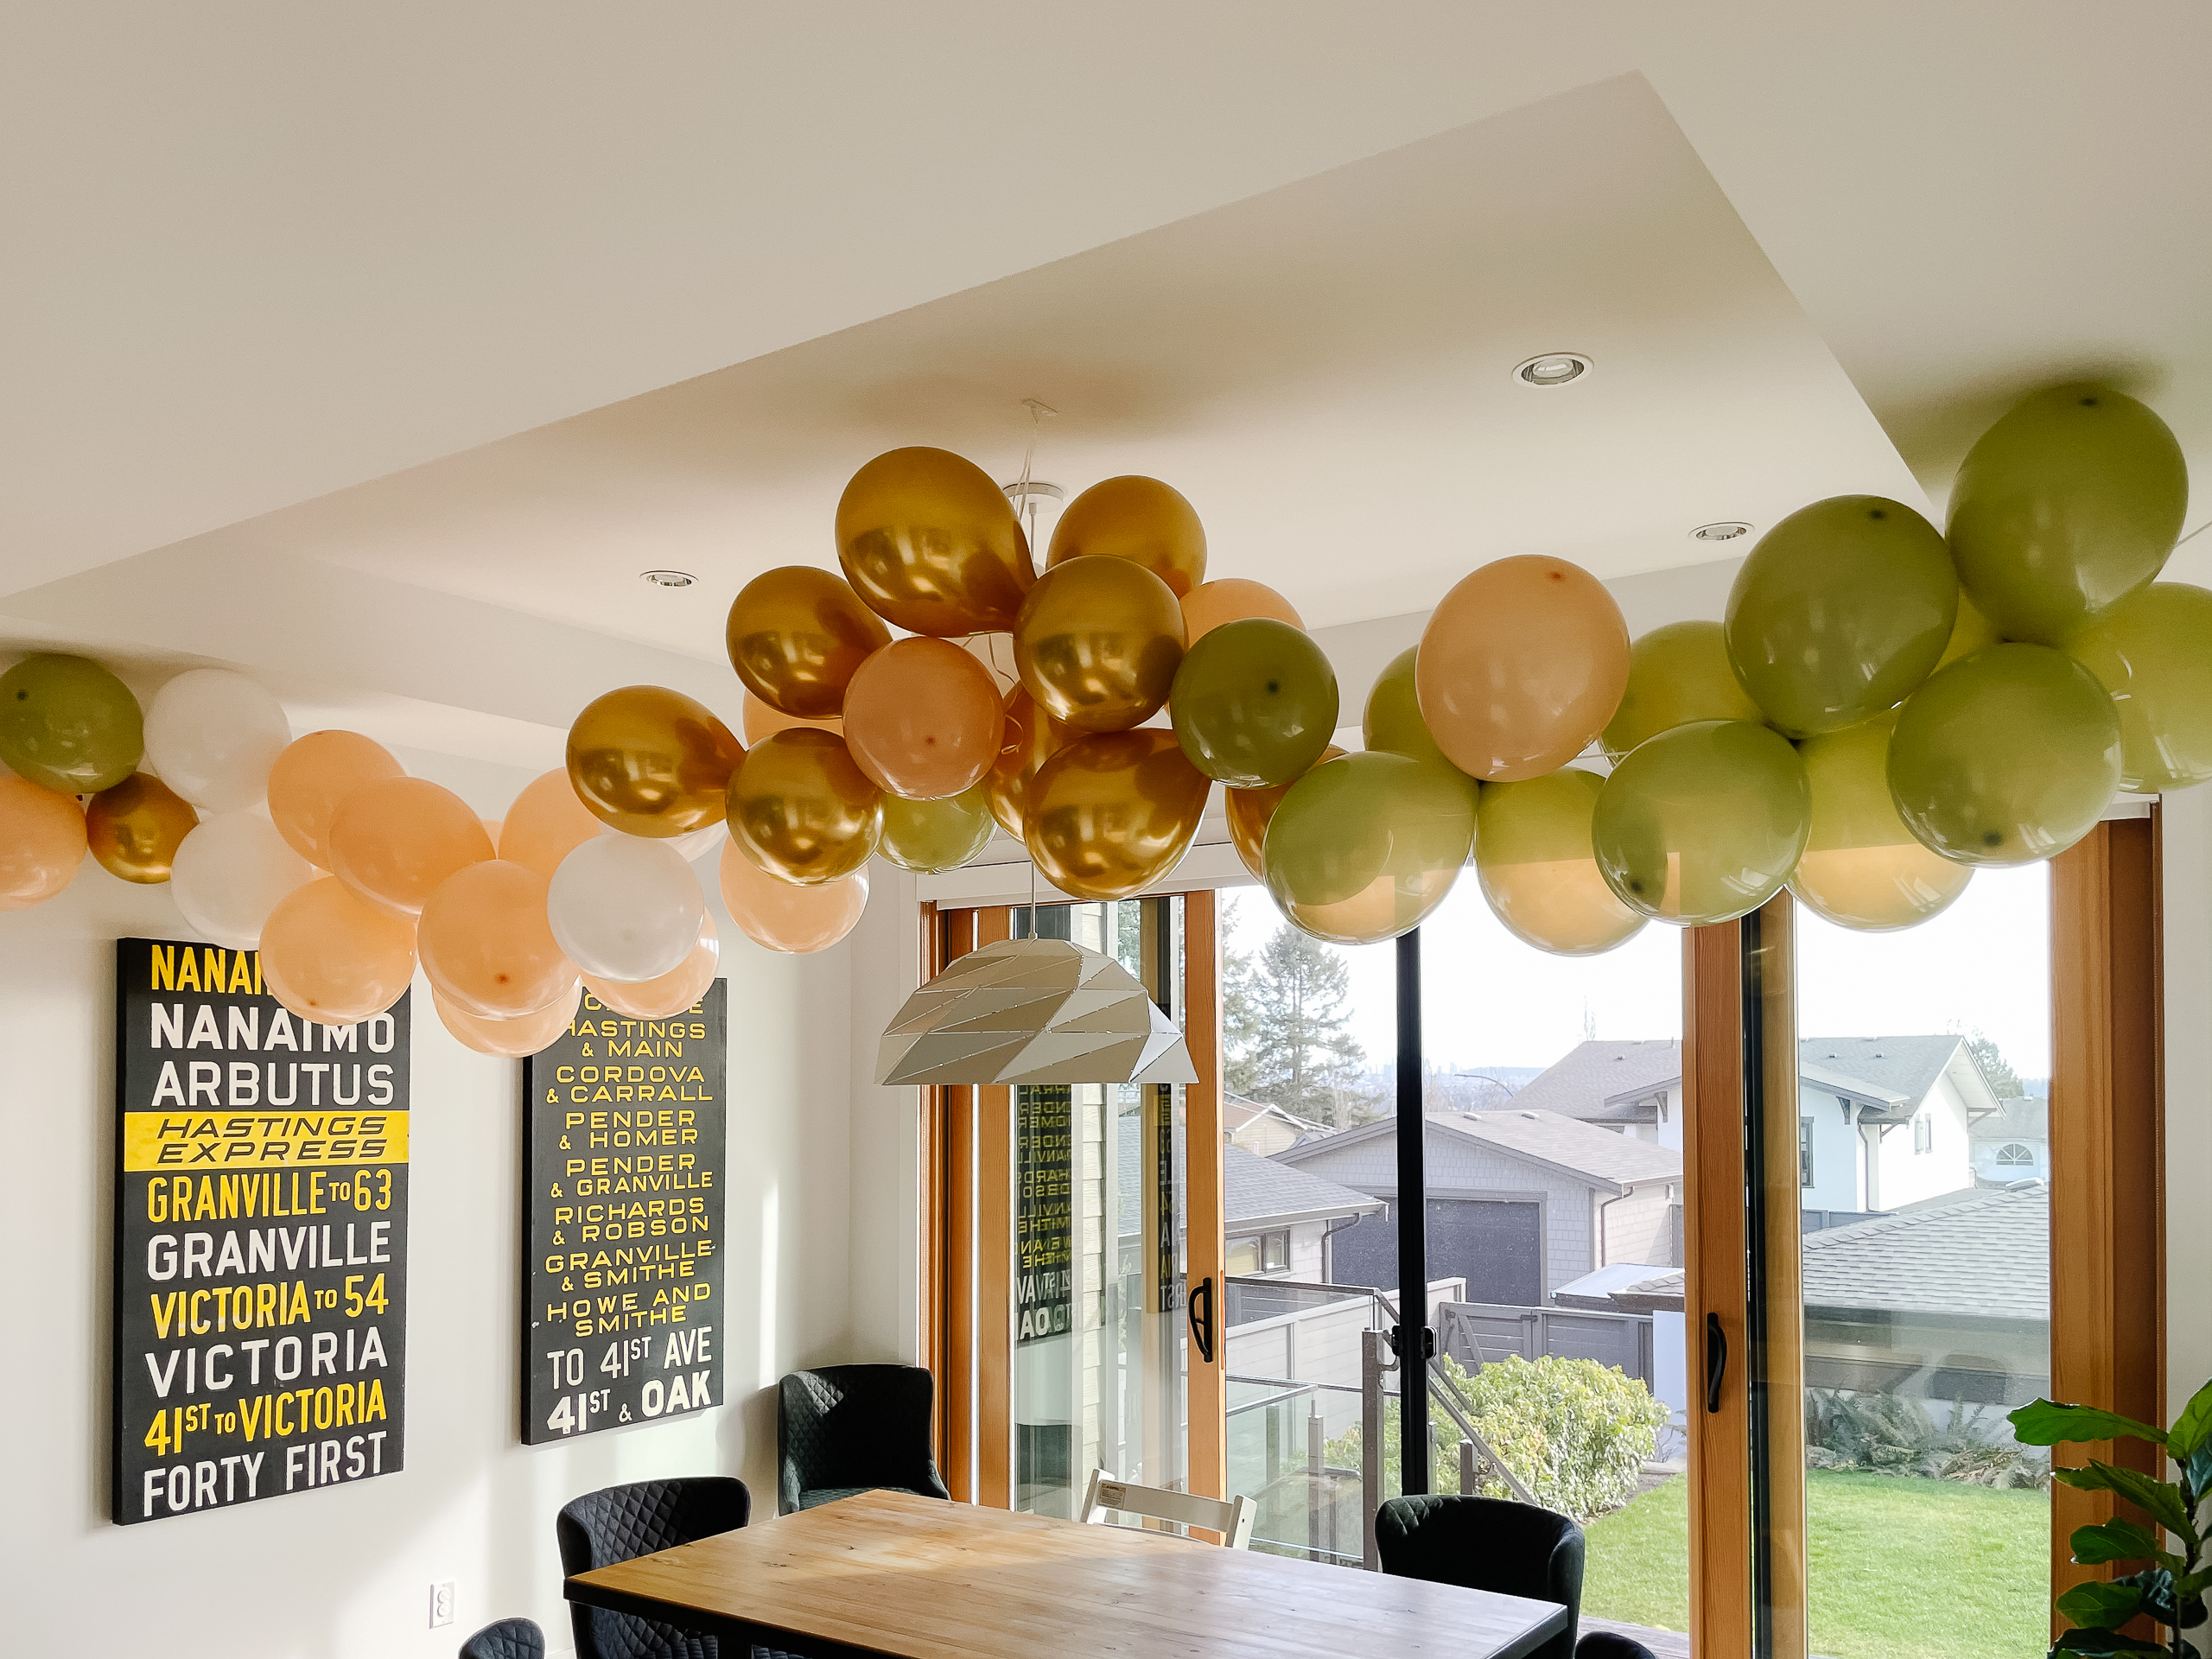
Have you ever gone to purchase balloons and wondered why they are so dang expensive?! I definitely h
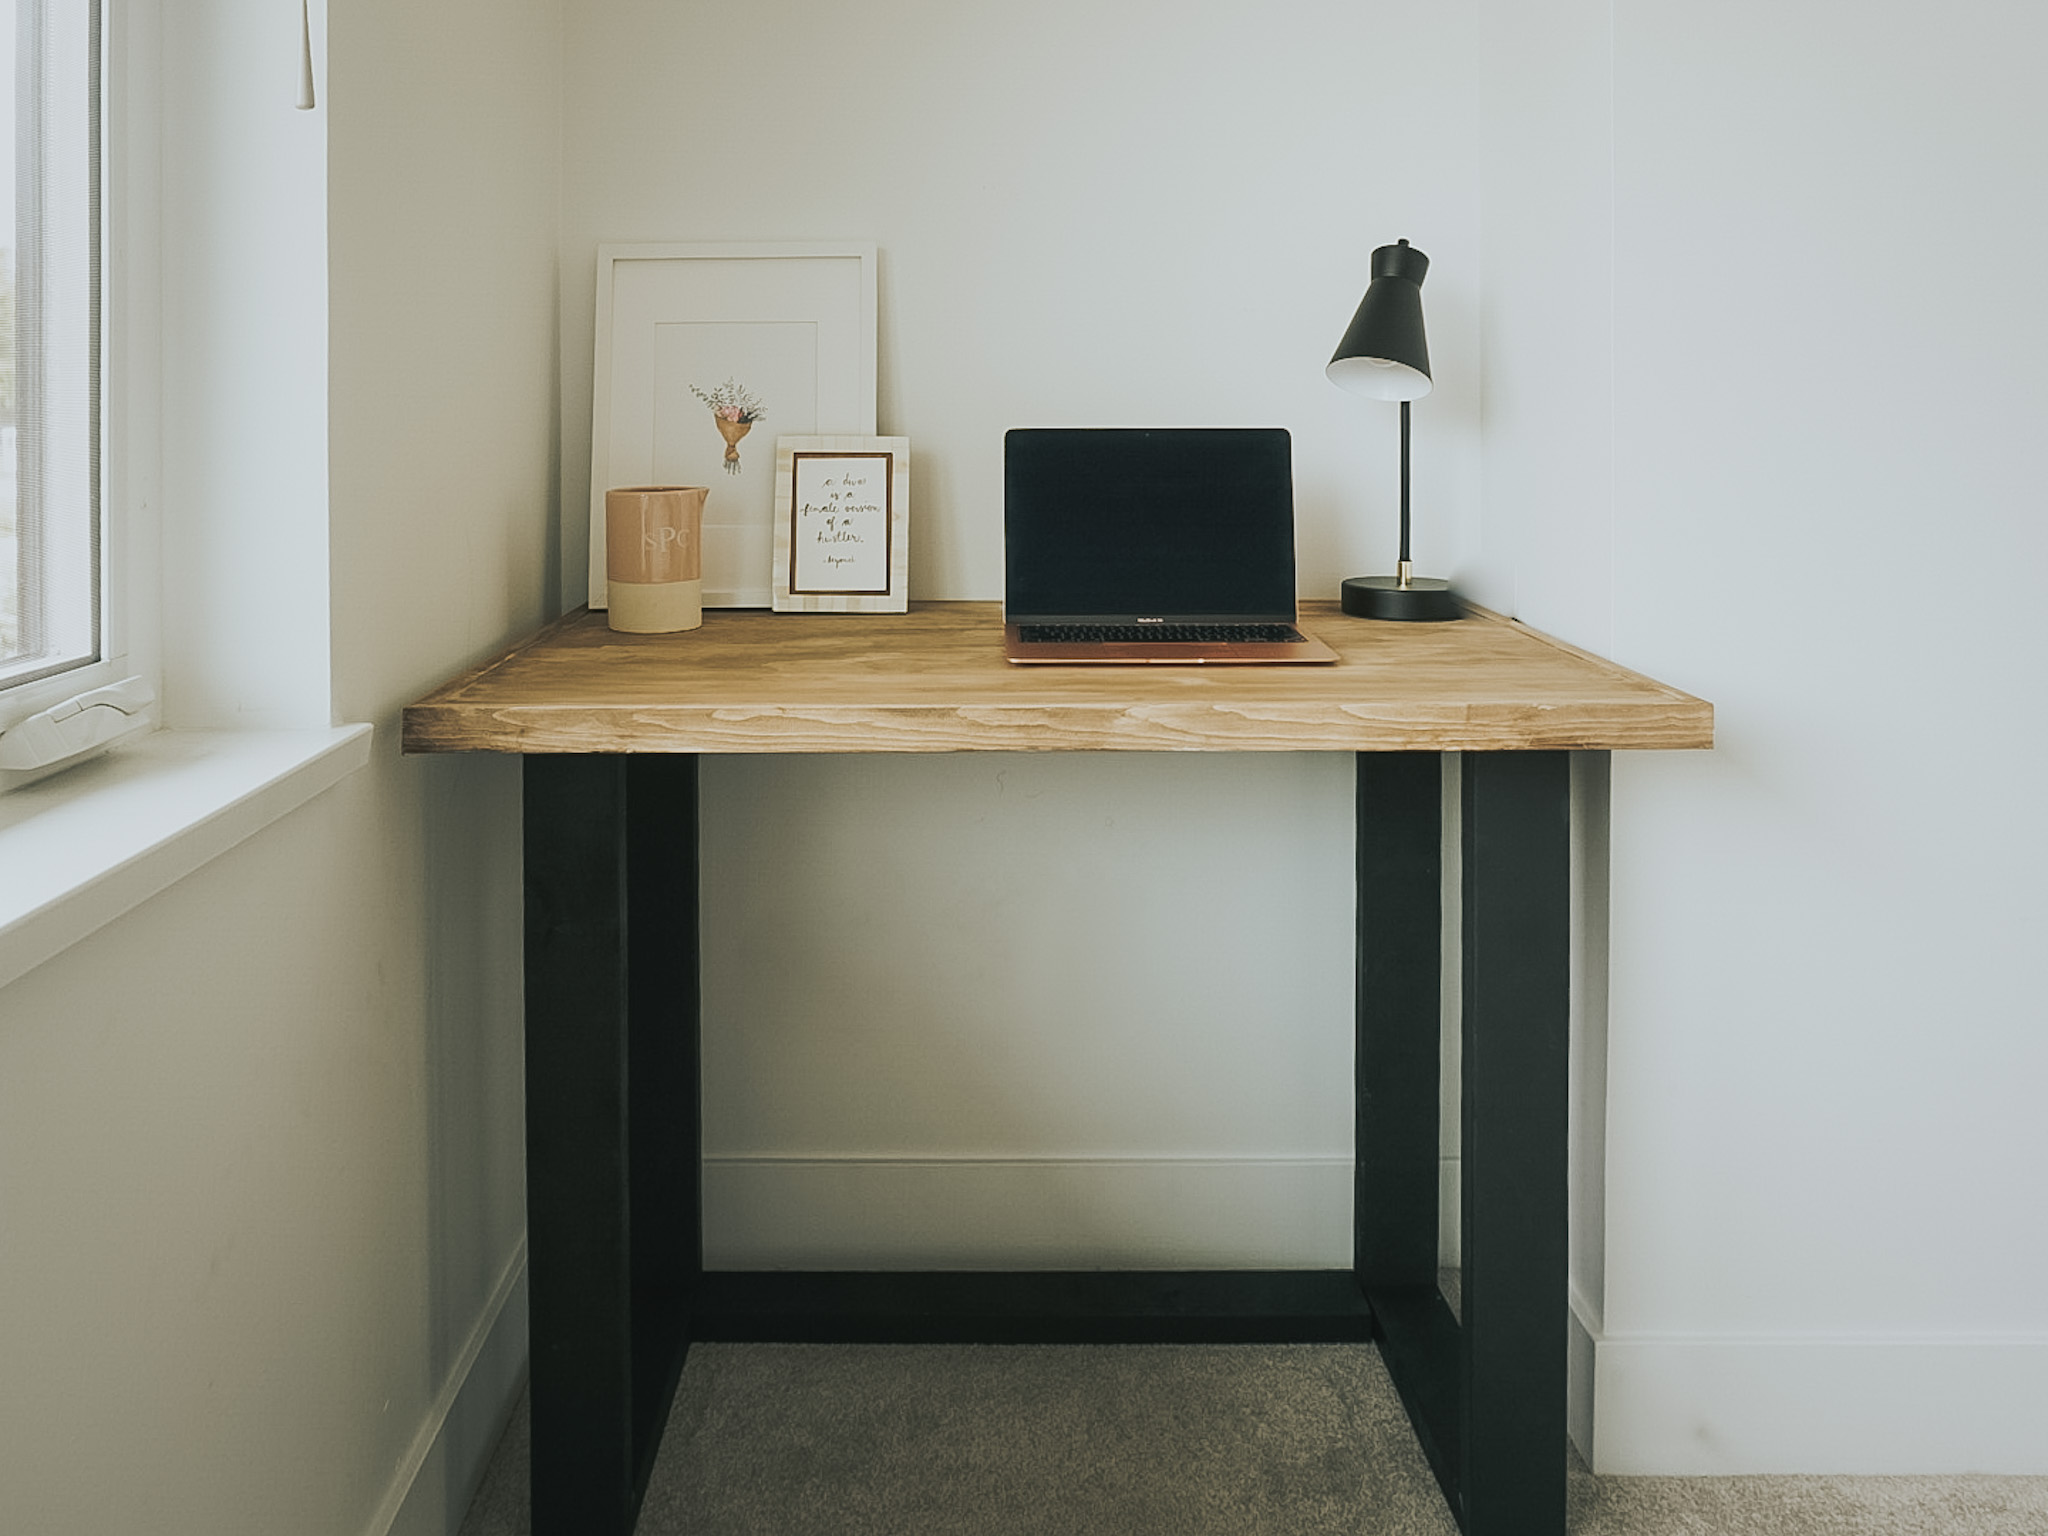
I made this DIY desk fully out of wood - it came to about $100 to make. I could have done it for $75


Leave a Reply