Today you’re getting a full-on home office tour! How exciting! I mean, I spend what feels like 80% of my time in my office, so it needs to be exciting… for me anyways. It needs to be an inspiring place where I want to come and get all the work done; otherwise, it will make for some VERY long days.

That aside, I’m learning that home decor is all about trying things until you find something that will work for you – and inspire you so-to-speak. Very rarely is anything in the right spot on the first try – which is accurate for most things in life but for some reason, I just assumed most who were well versed in home decor could nail it on the first try. Well, thank goodness I’m learning that is not true – mostly for my own ego. It enables me to be very willing to continue to swap things up – with confidence. As you will see in this home office tour, the space has been changed three times already and is likely going to undergo a fourth transformation, but here I am, still sharing it!

I’m here to take you along for the ride. And truth be told, I have no clue when that fourth transformation will happen BUT, I do value your opinion and want your say on it, so along with this home office tour, I’ve also shared my mood boards for the new space (and a little tutorial on how to create your own mood boards). Let’s start with the home office tour.

Signed Samantha's home office tour includes her DIY light, a gold book shelf decorated with neutral coloured items. a black oak desk and pink desk chair

A Tour of The Original Home Office Space

First of all, we were lucky enough to get this furniture for a good deal, which is why I’m working with what I am, and it’s a tiny bit mish mashed. 

I started with what I knew I needed – some drawer storage for some DIY/craft supplies. So, I started with where the dresser could go – along the wall (the very first picture on this post, or to visualize – it is to the left of the gold bookshelf/behind the desk), not too close to the window (it would have blocked the window), and obviously, needed to be able to open and be accessed easily. Thus, the entire first office set up was based around this one dresser.

My desk was right by the door when you walked in, the dresser was behind the desk, and the gold shelf towards the window. In this version of the home office tour, things were tight; it was hard to maneuver and most concerningly, I was the furthest away from the natural light and entertainment of the window.

As I was giving an office tour on IG one day explaining my next stage of thinking, many of you jumped to my aide. “Put your desk in front of the window!!!” You all said.

Signed Samantha's Home Office Tour includes where it currently is with a dark oak desk facing the window and two pink chairs - one at the desk, and one for "office visitors"

A Tour of… The Future Home Office Space

This leads us into a future phase of the home office tour: the custom phase! I have created three mood boards to inspire this next phase. I hope to build out some shelves, drawers, and storage along the back wall. Two of them draw on items that I already own (okay, just the desk), and one contemplates creating an entirely new desk. I know which option I am leaning towards (light vs. dark vs. starting fresh), but I so badly want to hear your opinion… Let me know however you want to (commenting below, IG DM, email, etc.).

For those of you who have been waiting for me to explain how I made these mood boards, it was simple. I used InDesign but have heard Canva works as a great alternative. My tips don’t revolve around the program, though; they revolve around the concept.

While giving a home office tour, Signed Samantha is also sharing her mood boards for what her future home office space could look like - this one is a full refreshing and includes a new built in desk that goes along the corner - all white and green (from plants)/

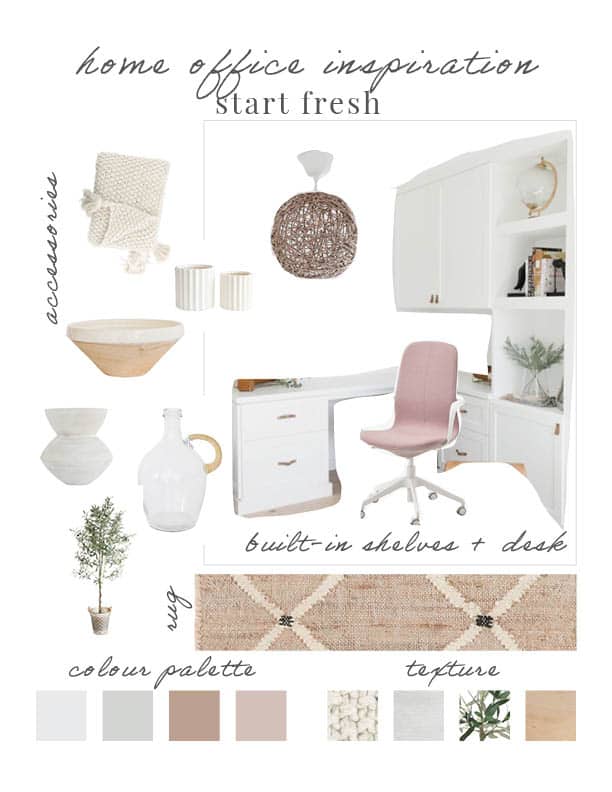
How to make a mood board:

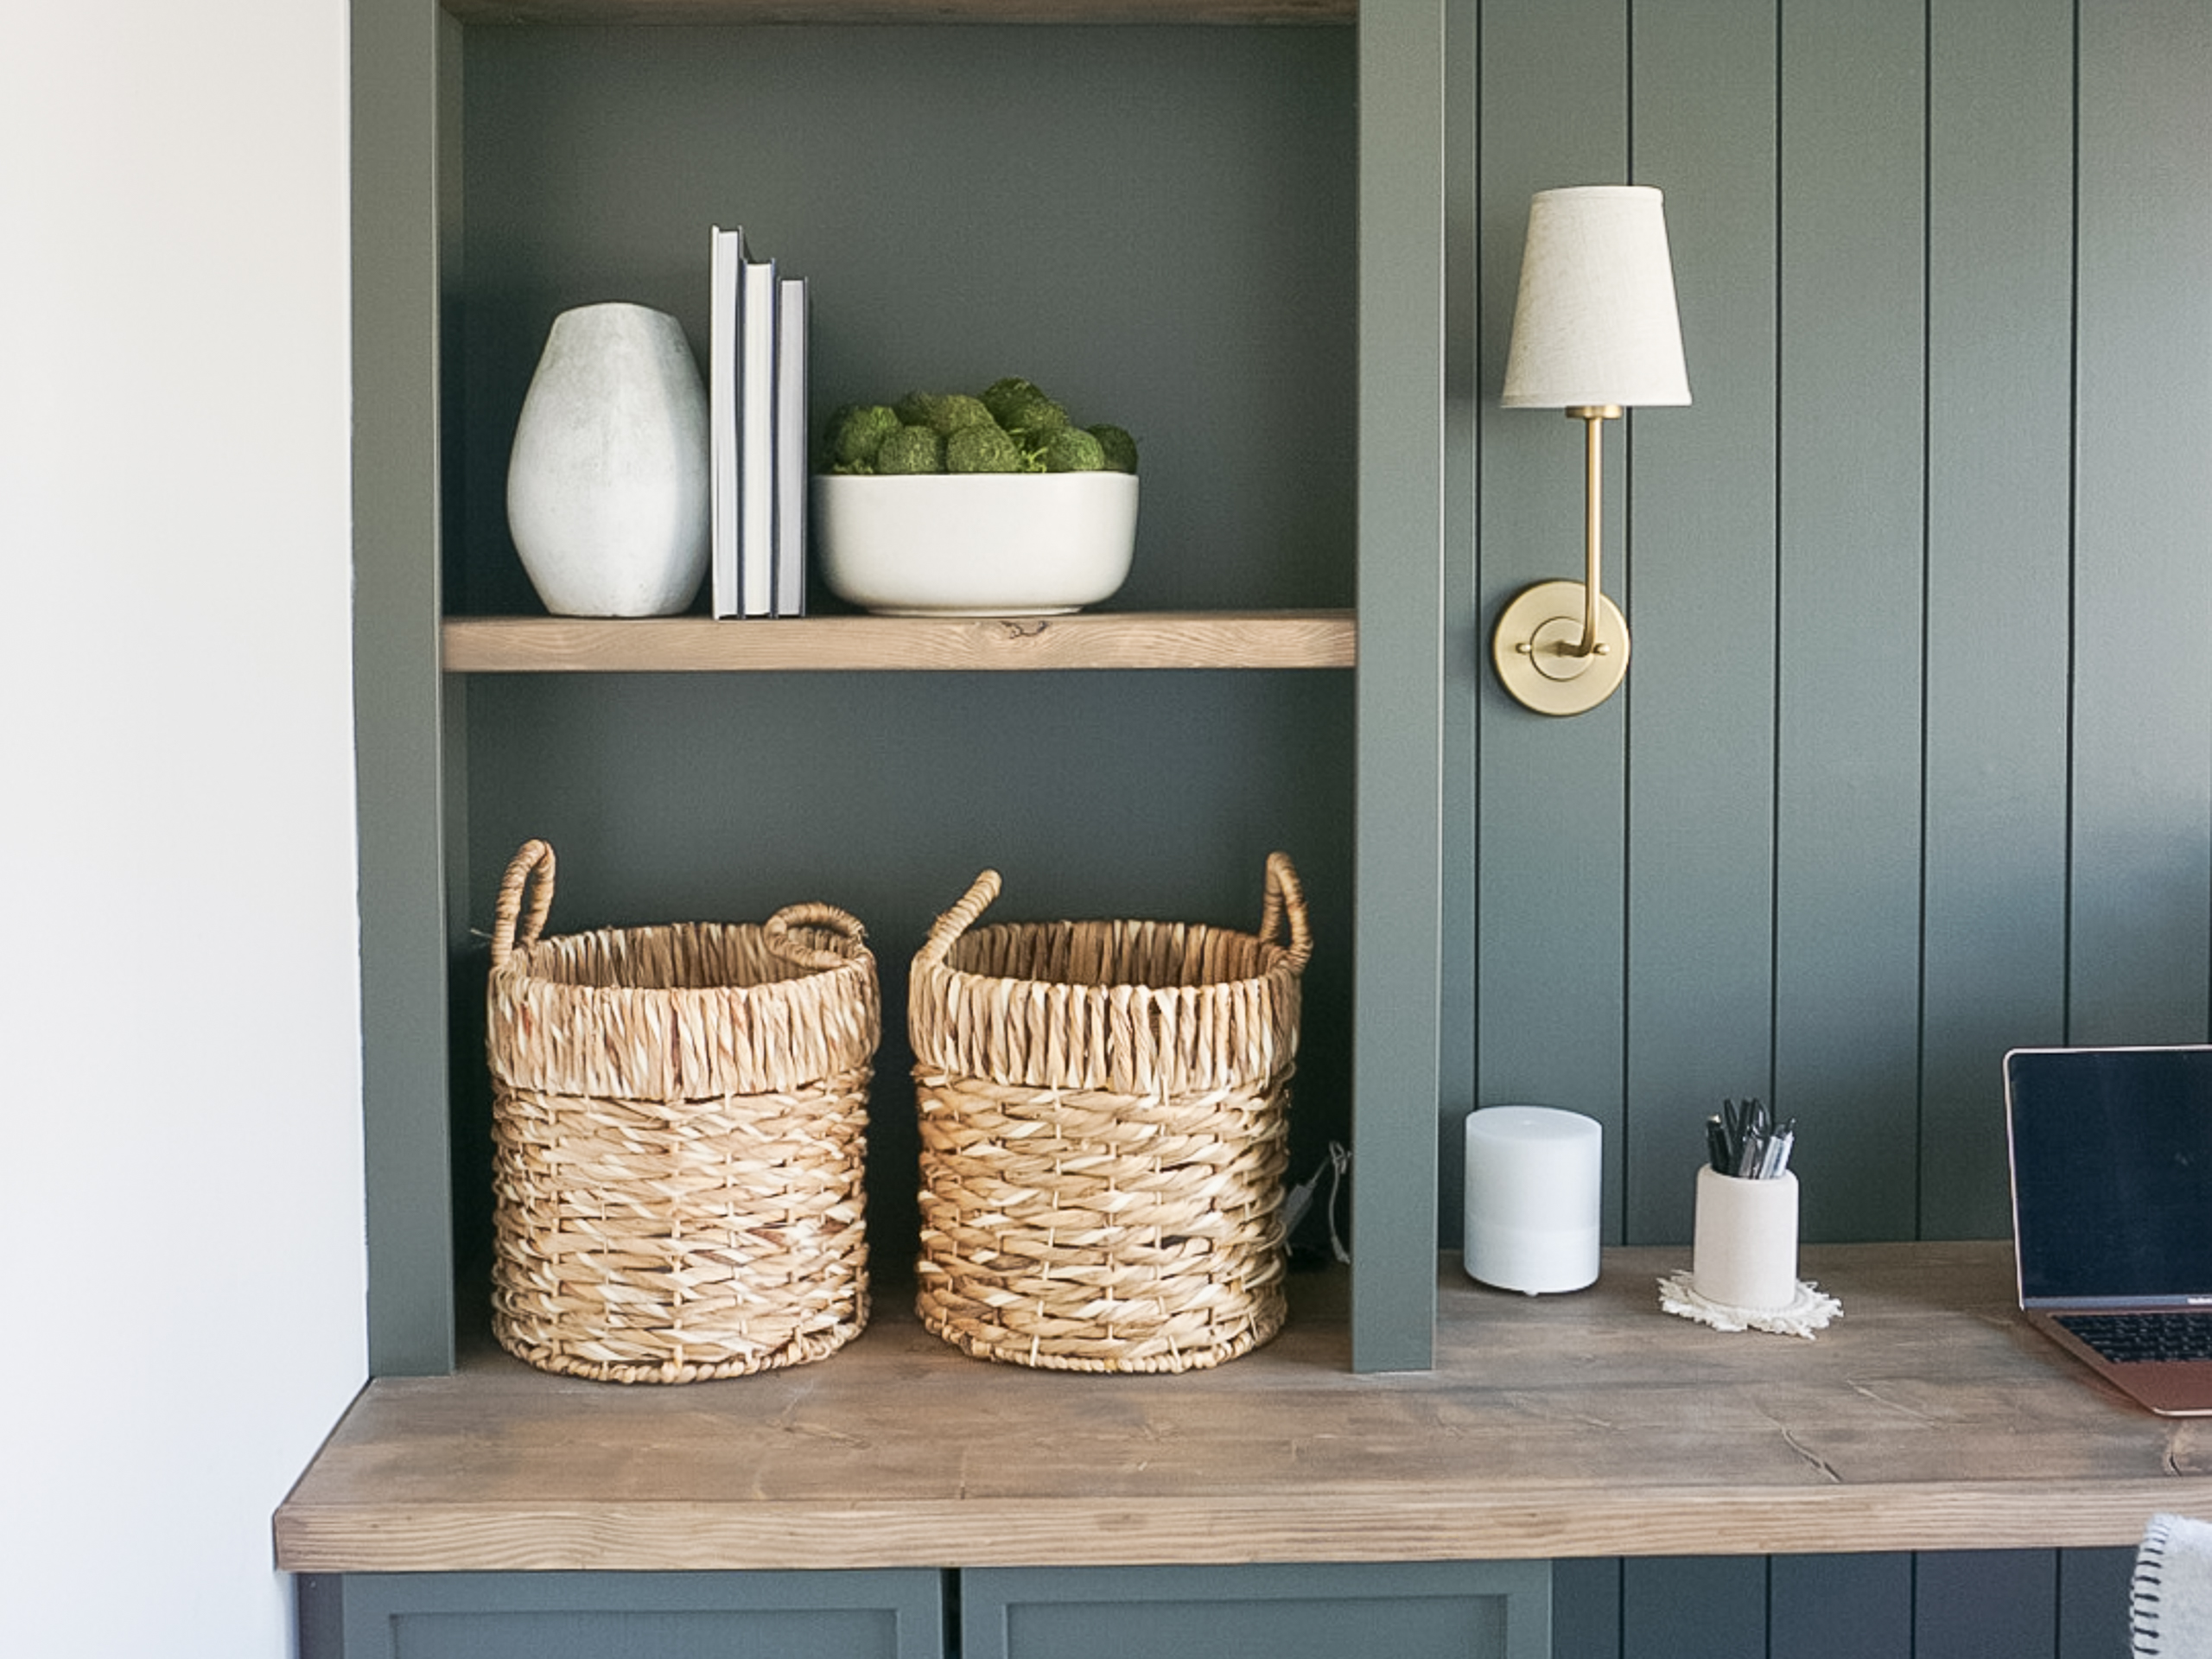
  • Make sure you add your inspiration but don’t worry if you can’t find something exactly like what you want (none of these shelving styles are exactly what I would do, and I honestly don’t think I’d be able to find that anywhere)
  • Remove background colours from images (you can do it on paint on a PC and on preview on a mac). It creates a more cohesive and inspiring board
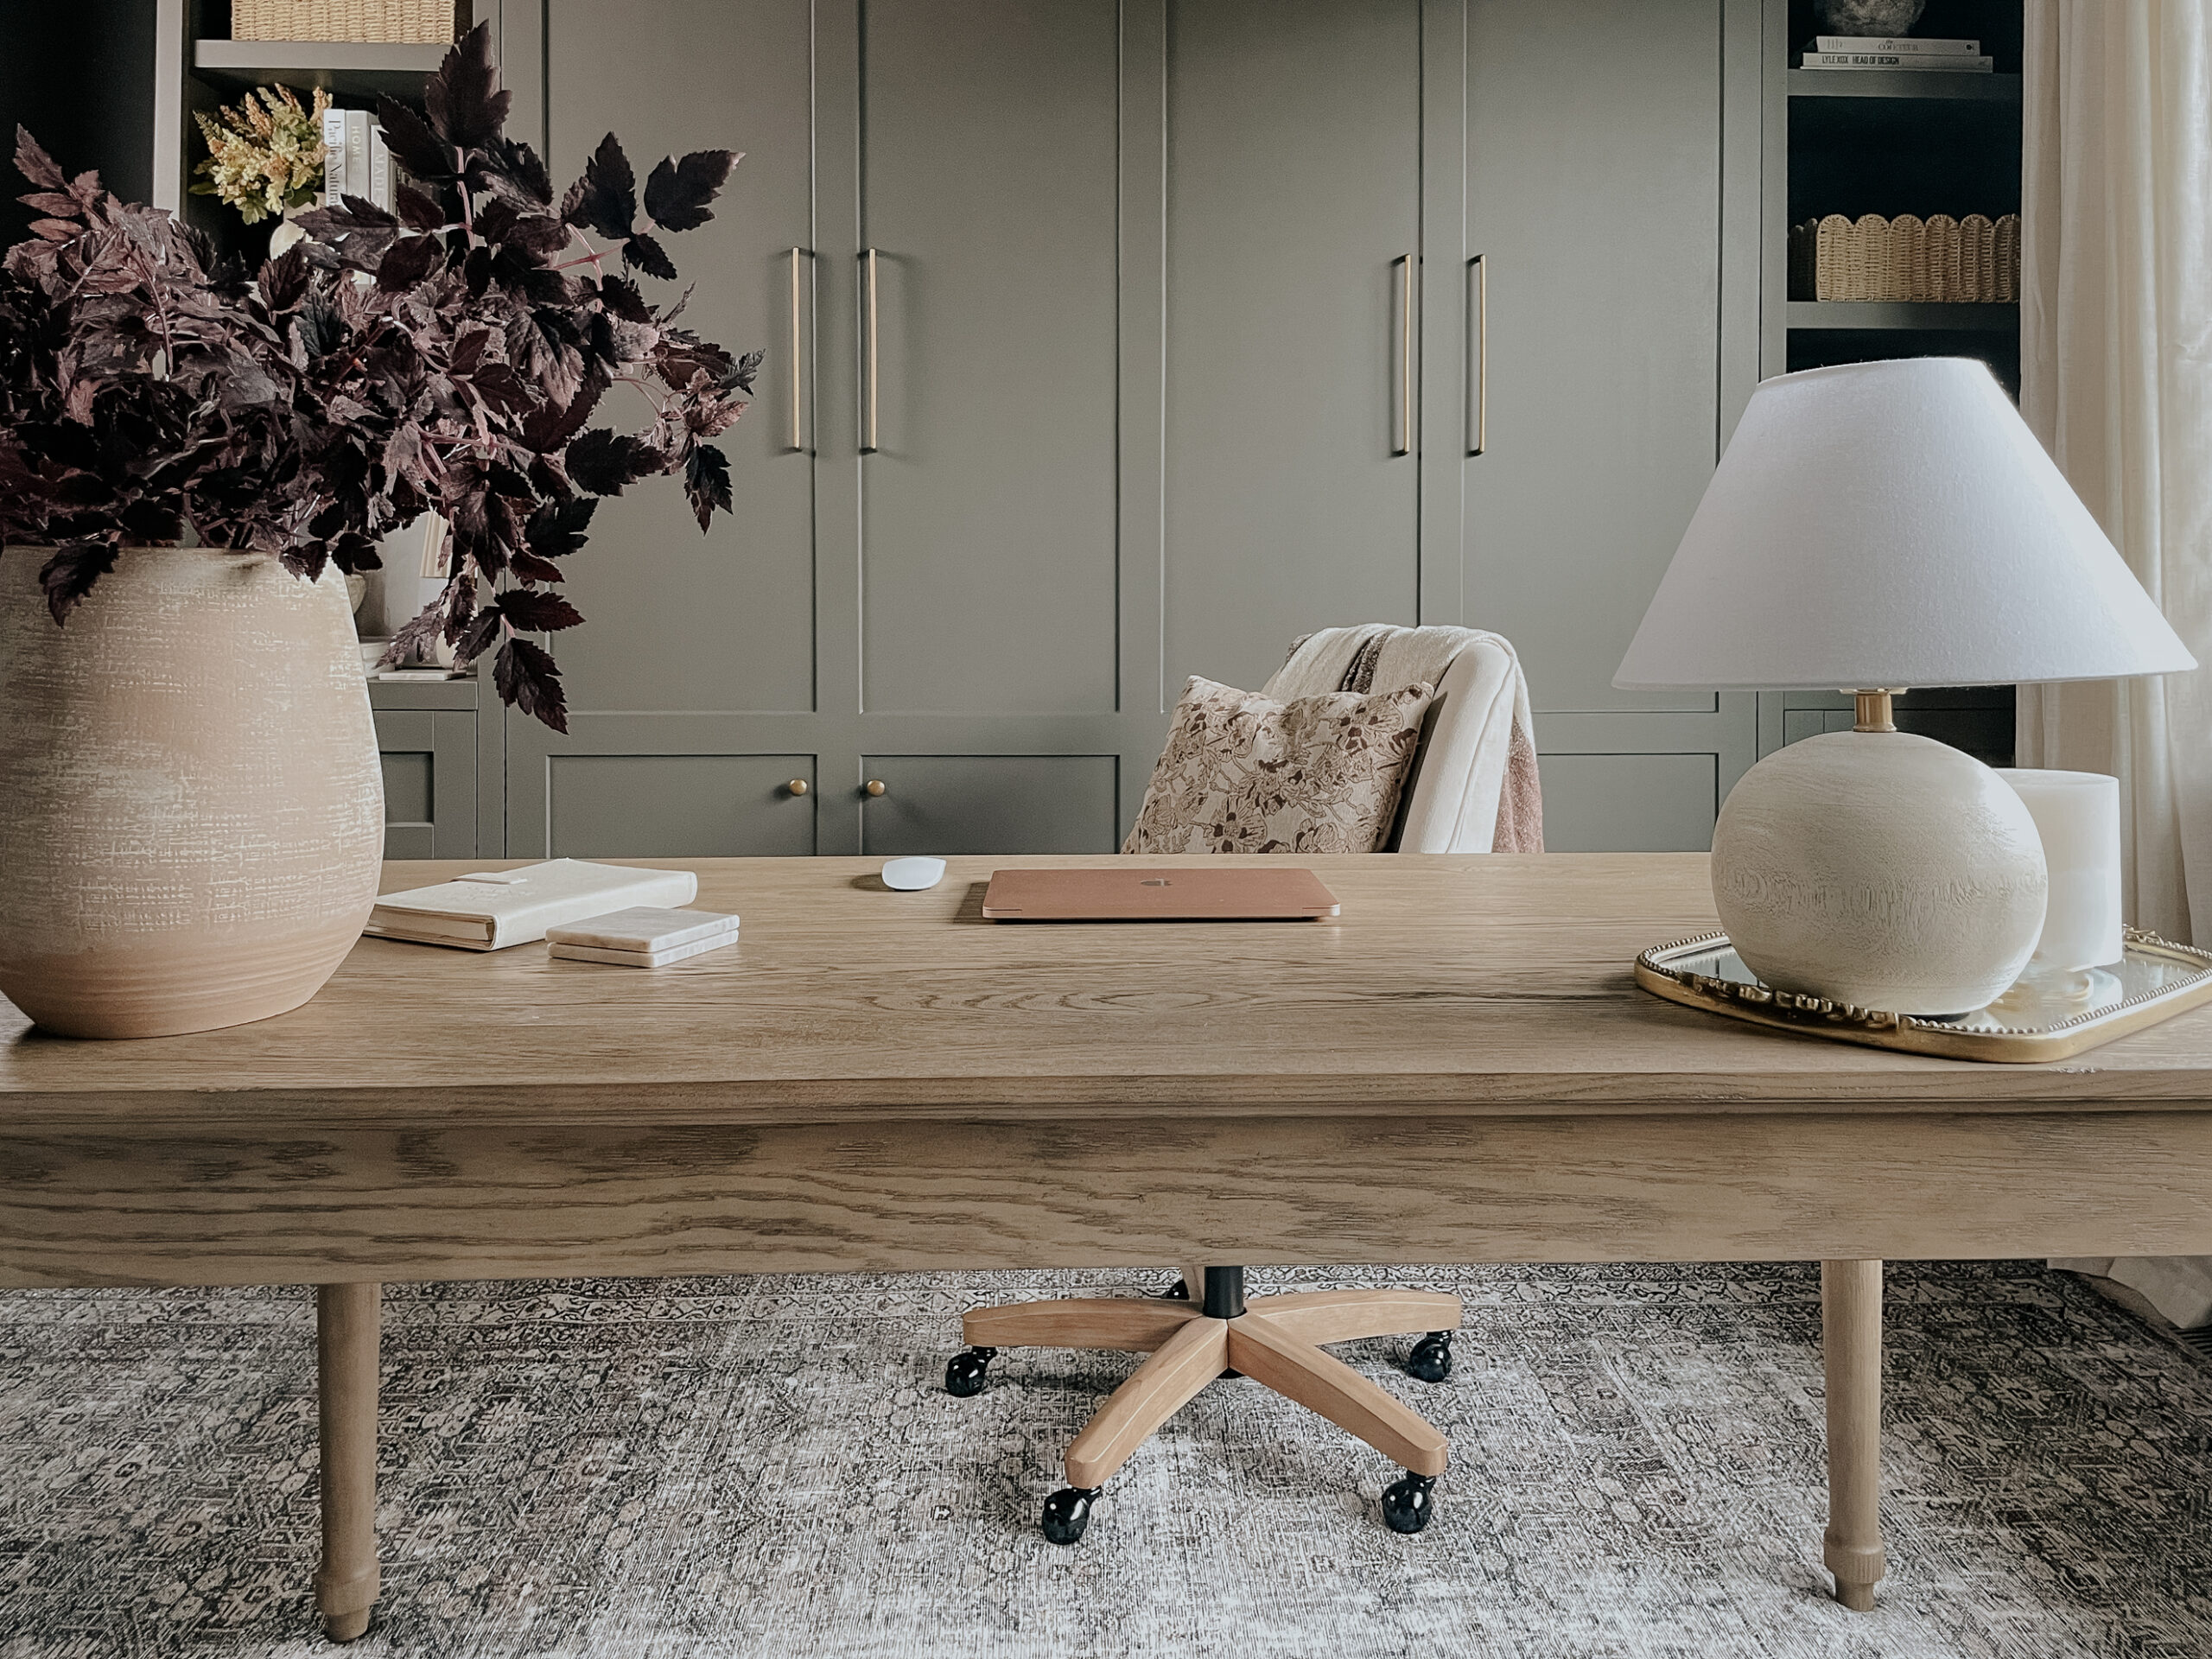
  • Include the colours you intend to incorporate in your space
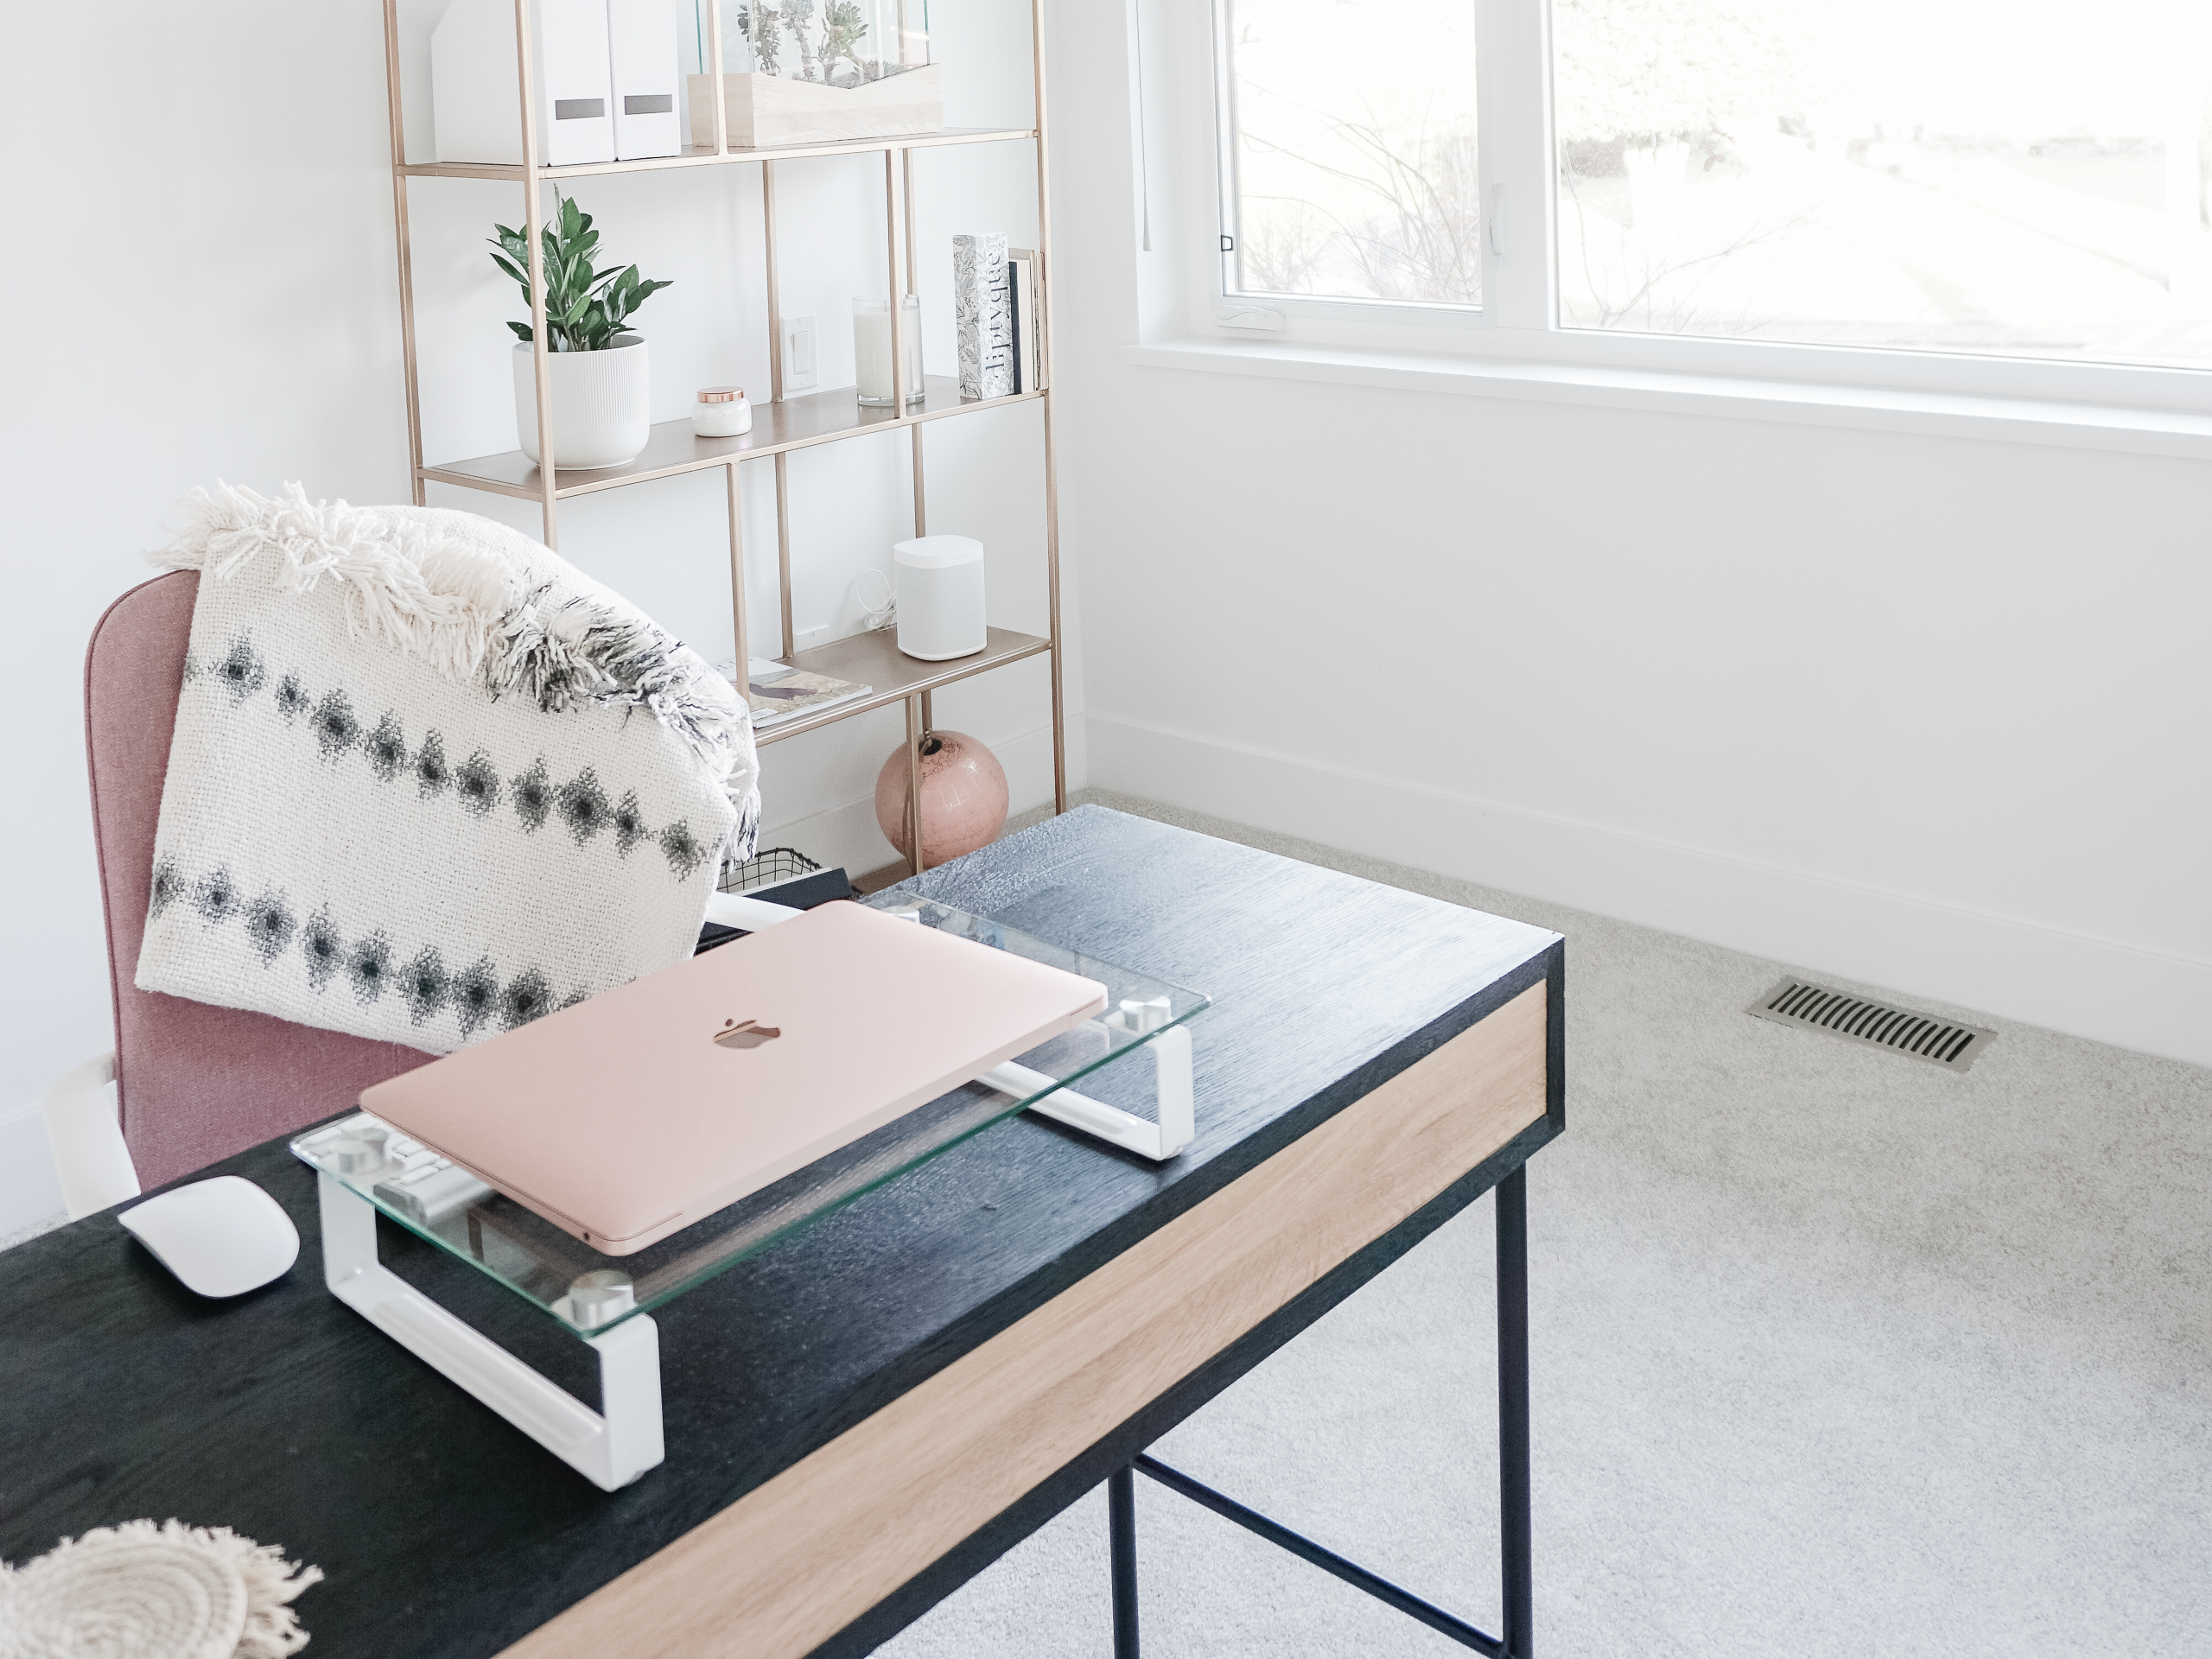
  • Include the textures you intend to incorporate into your space
  • Make sure you have your big key items first (furniture, lighting, rugs, etc.) and then add a few accessories to follow

That’s it; it’s honestly whatever you want to make of it (I think anyway, these were my first mood boards, and I’m obsessed with how they turned out!).

I’m super excited to get to round four, but for now, I’m delighted with how it’s come together (again!).

Don’t forget to keep shuffling things around if it’s not sitting well with you. Nothing is nailed down – unless you did that for some reason!


Shop My Mood Boards

Comments

  • Erin

    LOVE your office! It’s so minimalist/clean & so similar to what I want in our future home. Currently, Jeremy & I both have each of our “office spaces” in our bedroom… So needless to say it is a hot mess. But I will definitely be taking inspo from this post when I actually have a full room designated to my office. 🙂

    • Samantha

      Ah thank you! I cannot believe you are both working out of your bedroom. My husband and I would totally murder each other. We need space haha!! I have to commend you for that!

Leave a Reply

Your email address will not be published. Required fields are marked *

Instagram Feed