
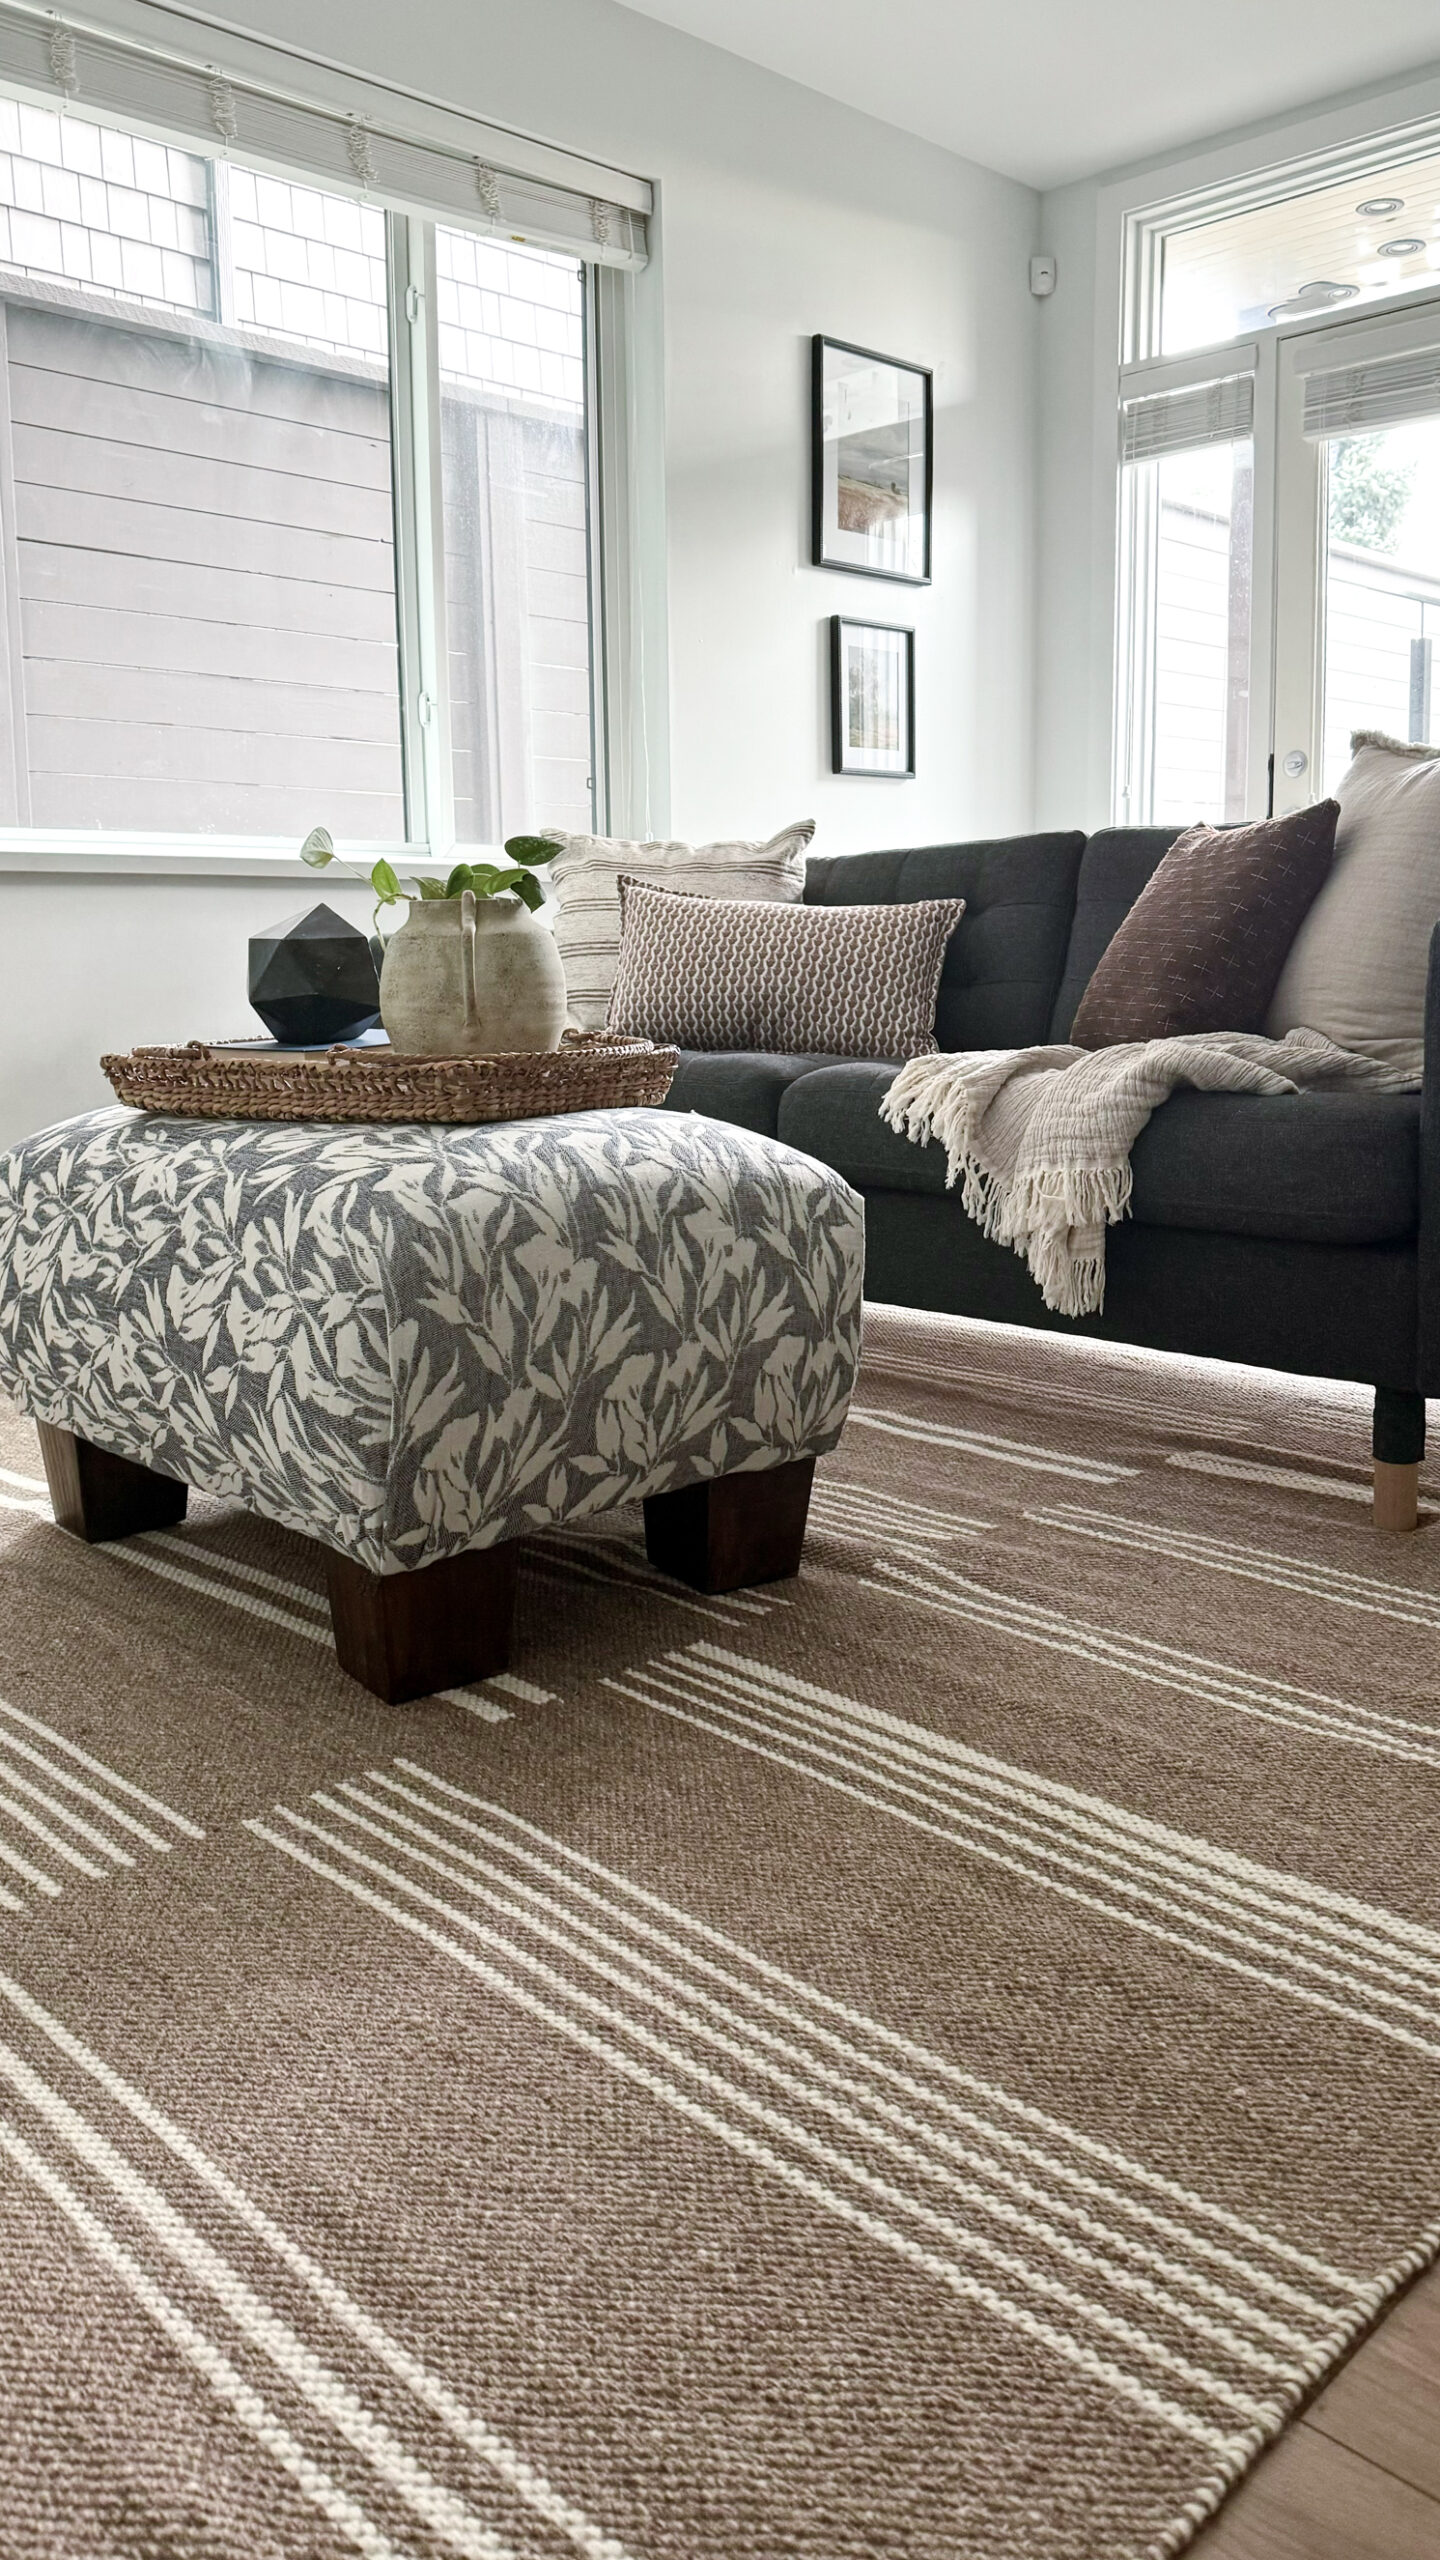
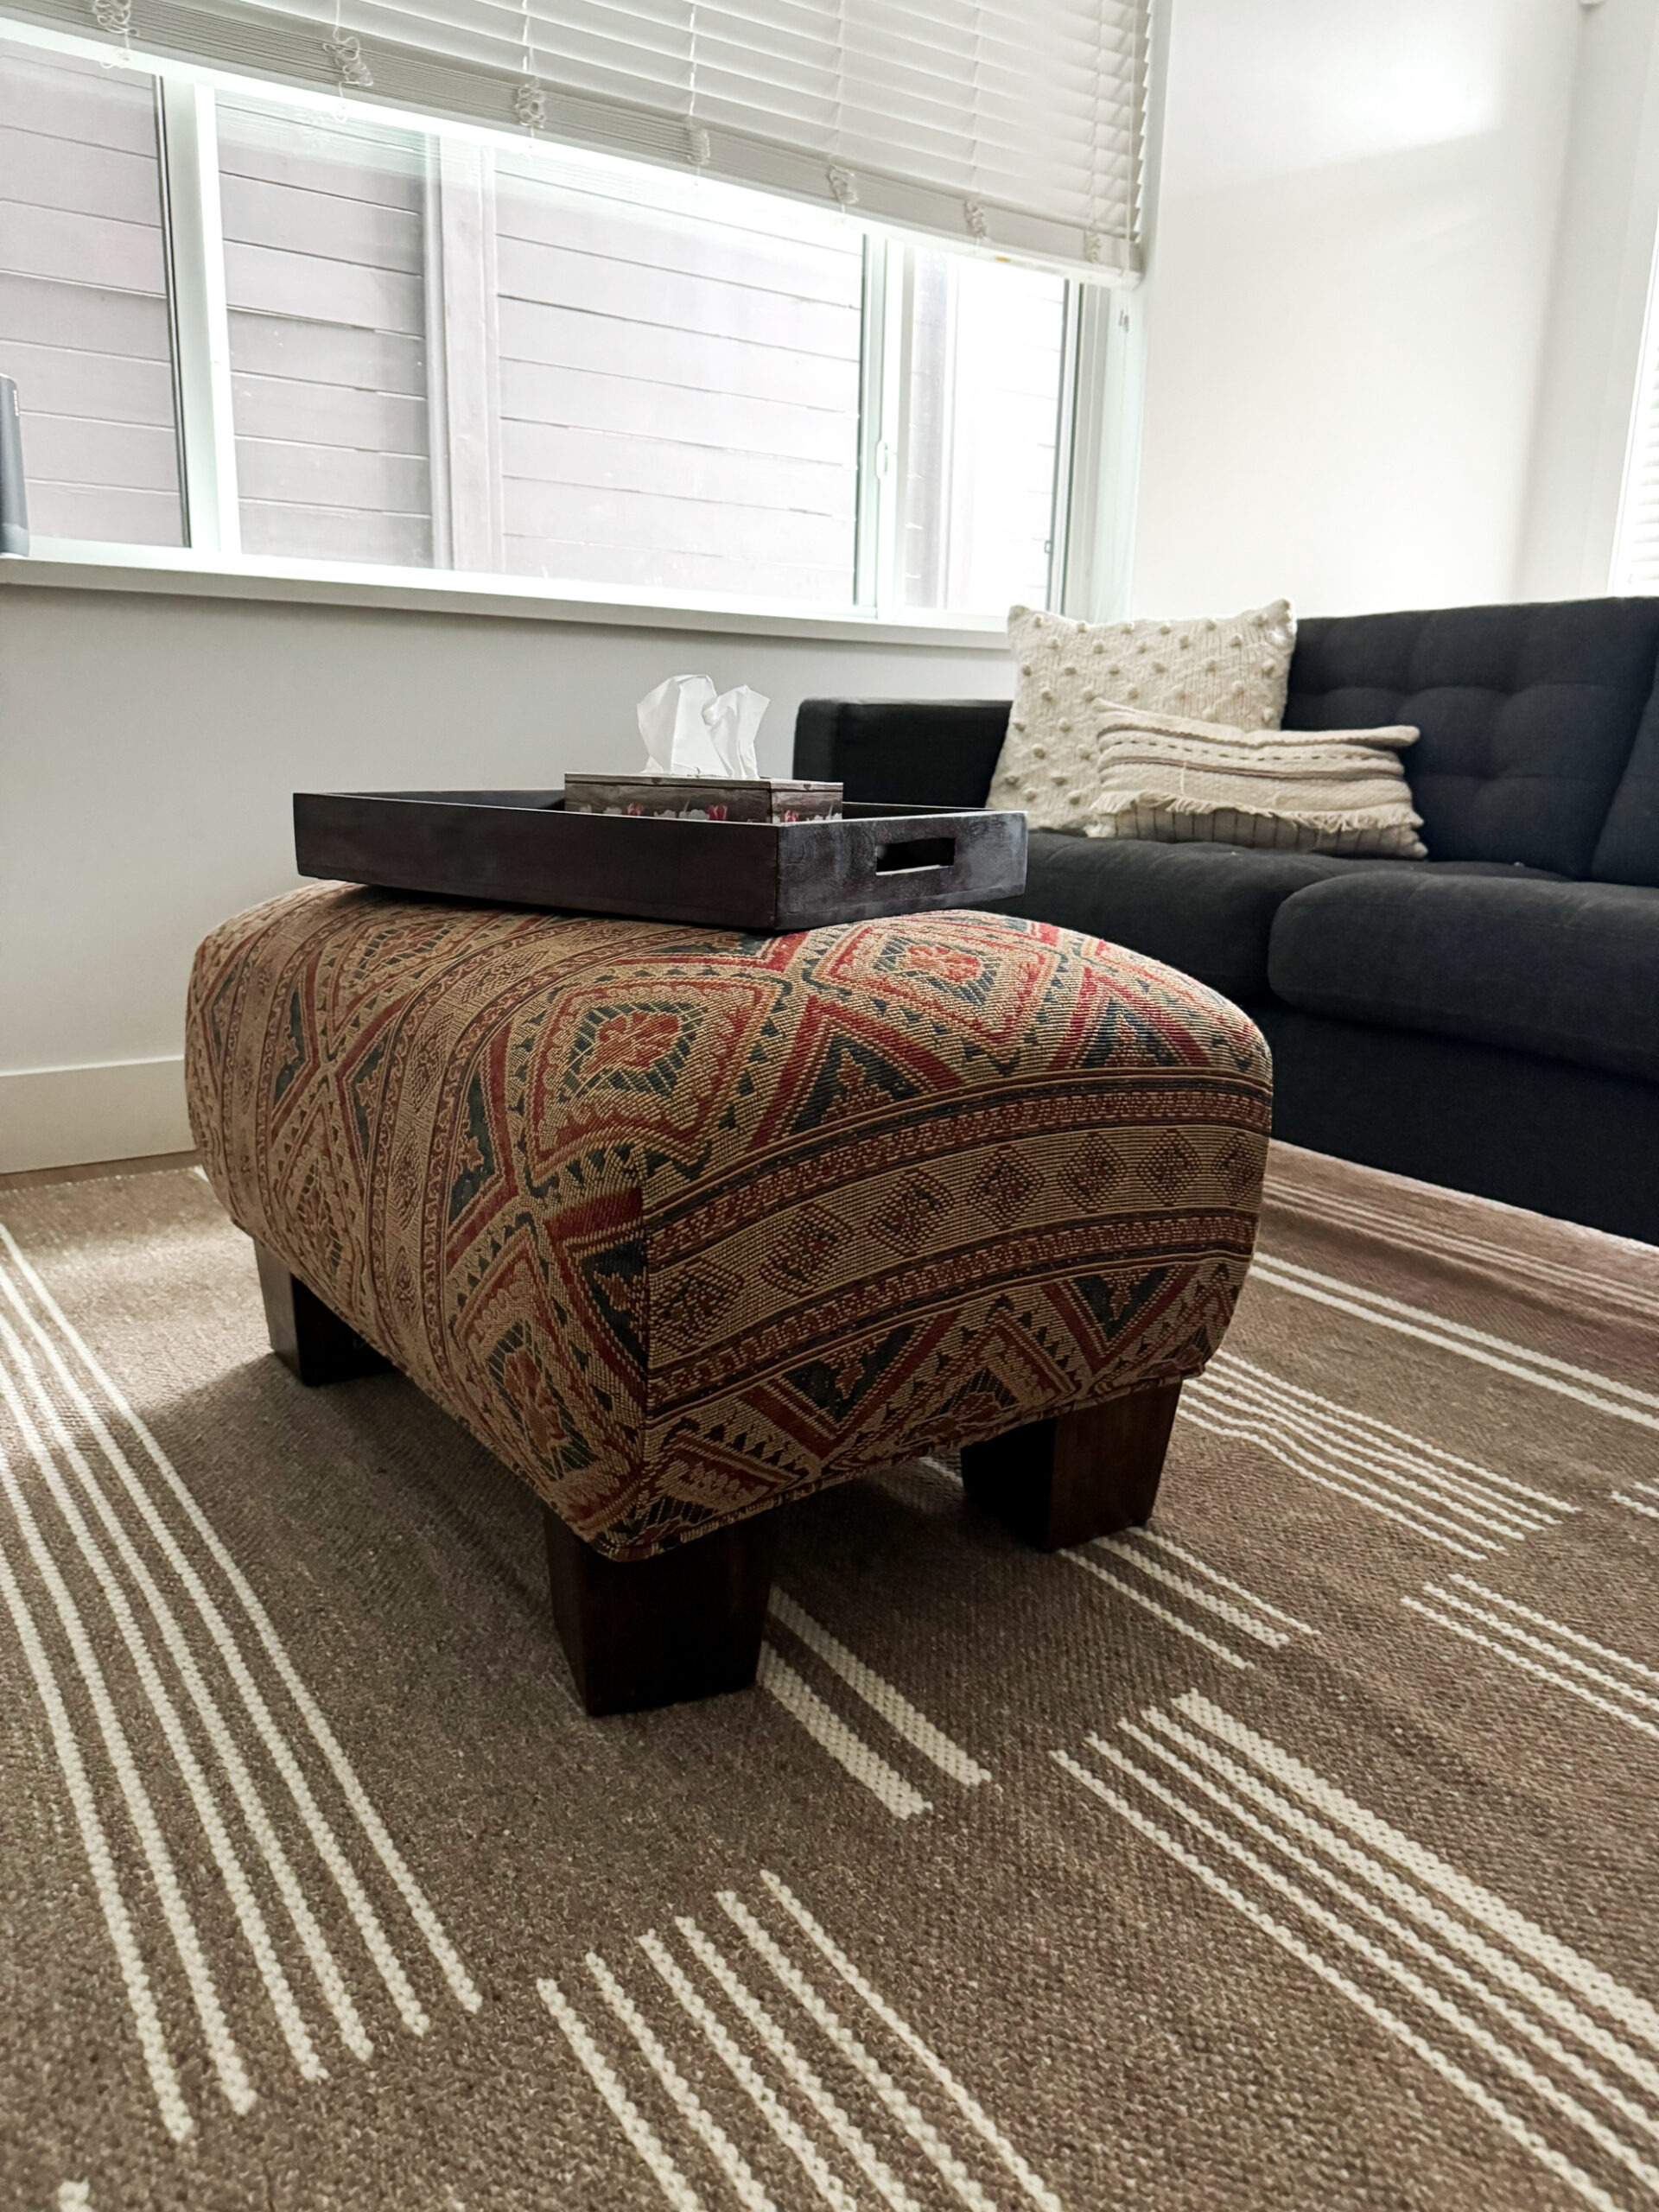
elcome to our basement suite. I've yet to share this space as we have had it rented out to tenants for the longest time. Late last year, we were fortunate enough that my in-laws wanted to use the space as a little pied a terre when they came into the City. So now they are our "tenants" and we get to see them more often! It also means I have another space to play around in and decorate! As you can imagine, when you adore home decorating as I do, you have a few extra decor items around the house. So, when they first moved in, I thought we had a spare rug that would work in the living room; it was far too small. Luckily, I started working with RugsUSA on a few campaigns. Through this work, I updated the rug to a larger size. A huge win. One problem: the rug I selected clashed with the ottoman my mother-in-law brought in. Since it would be silly to get rid of the brand-new rug and equally as silly to get rid of the ottoman, I decided to reupholster it under two conditions: I was not going to sew anything, and it had to be affordable.
I sewed this cushion cover for our mudroom and that was trauma enough for me LOL.
No Sew Ottoman Reupholstry Tools
I debated between a nail gun and a staple gun. I had the baby with me for the first bit of this reupholstery effort, so I tried the staple gun since it was a quieter option. I was pleasantly surprised when it worked. In addition to a staple gun to reupholster your ottoman without a sewing machine, you also need fabric, scissors, and potentially a glue gun. The glue gun is up to you and slightly dependent on how your ottoman turns out.

Affordable Fabric Sources for Your New Sew Reupholstery Job
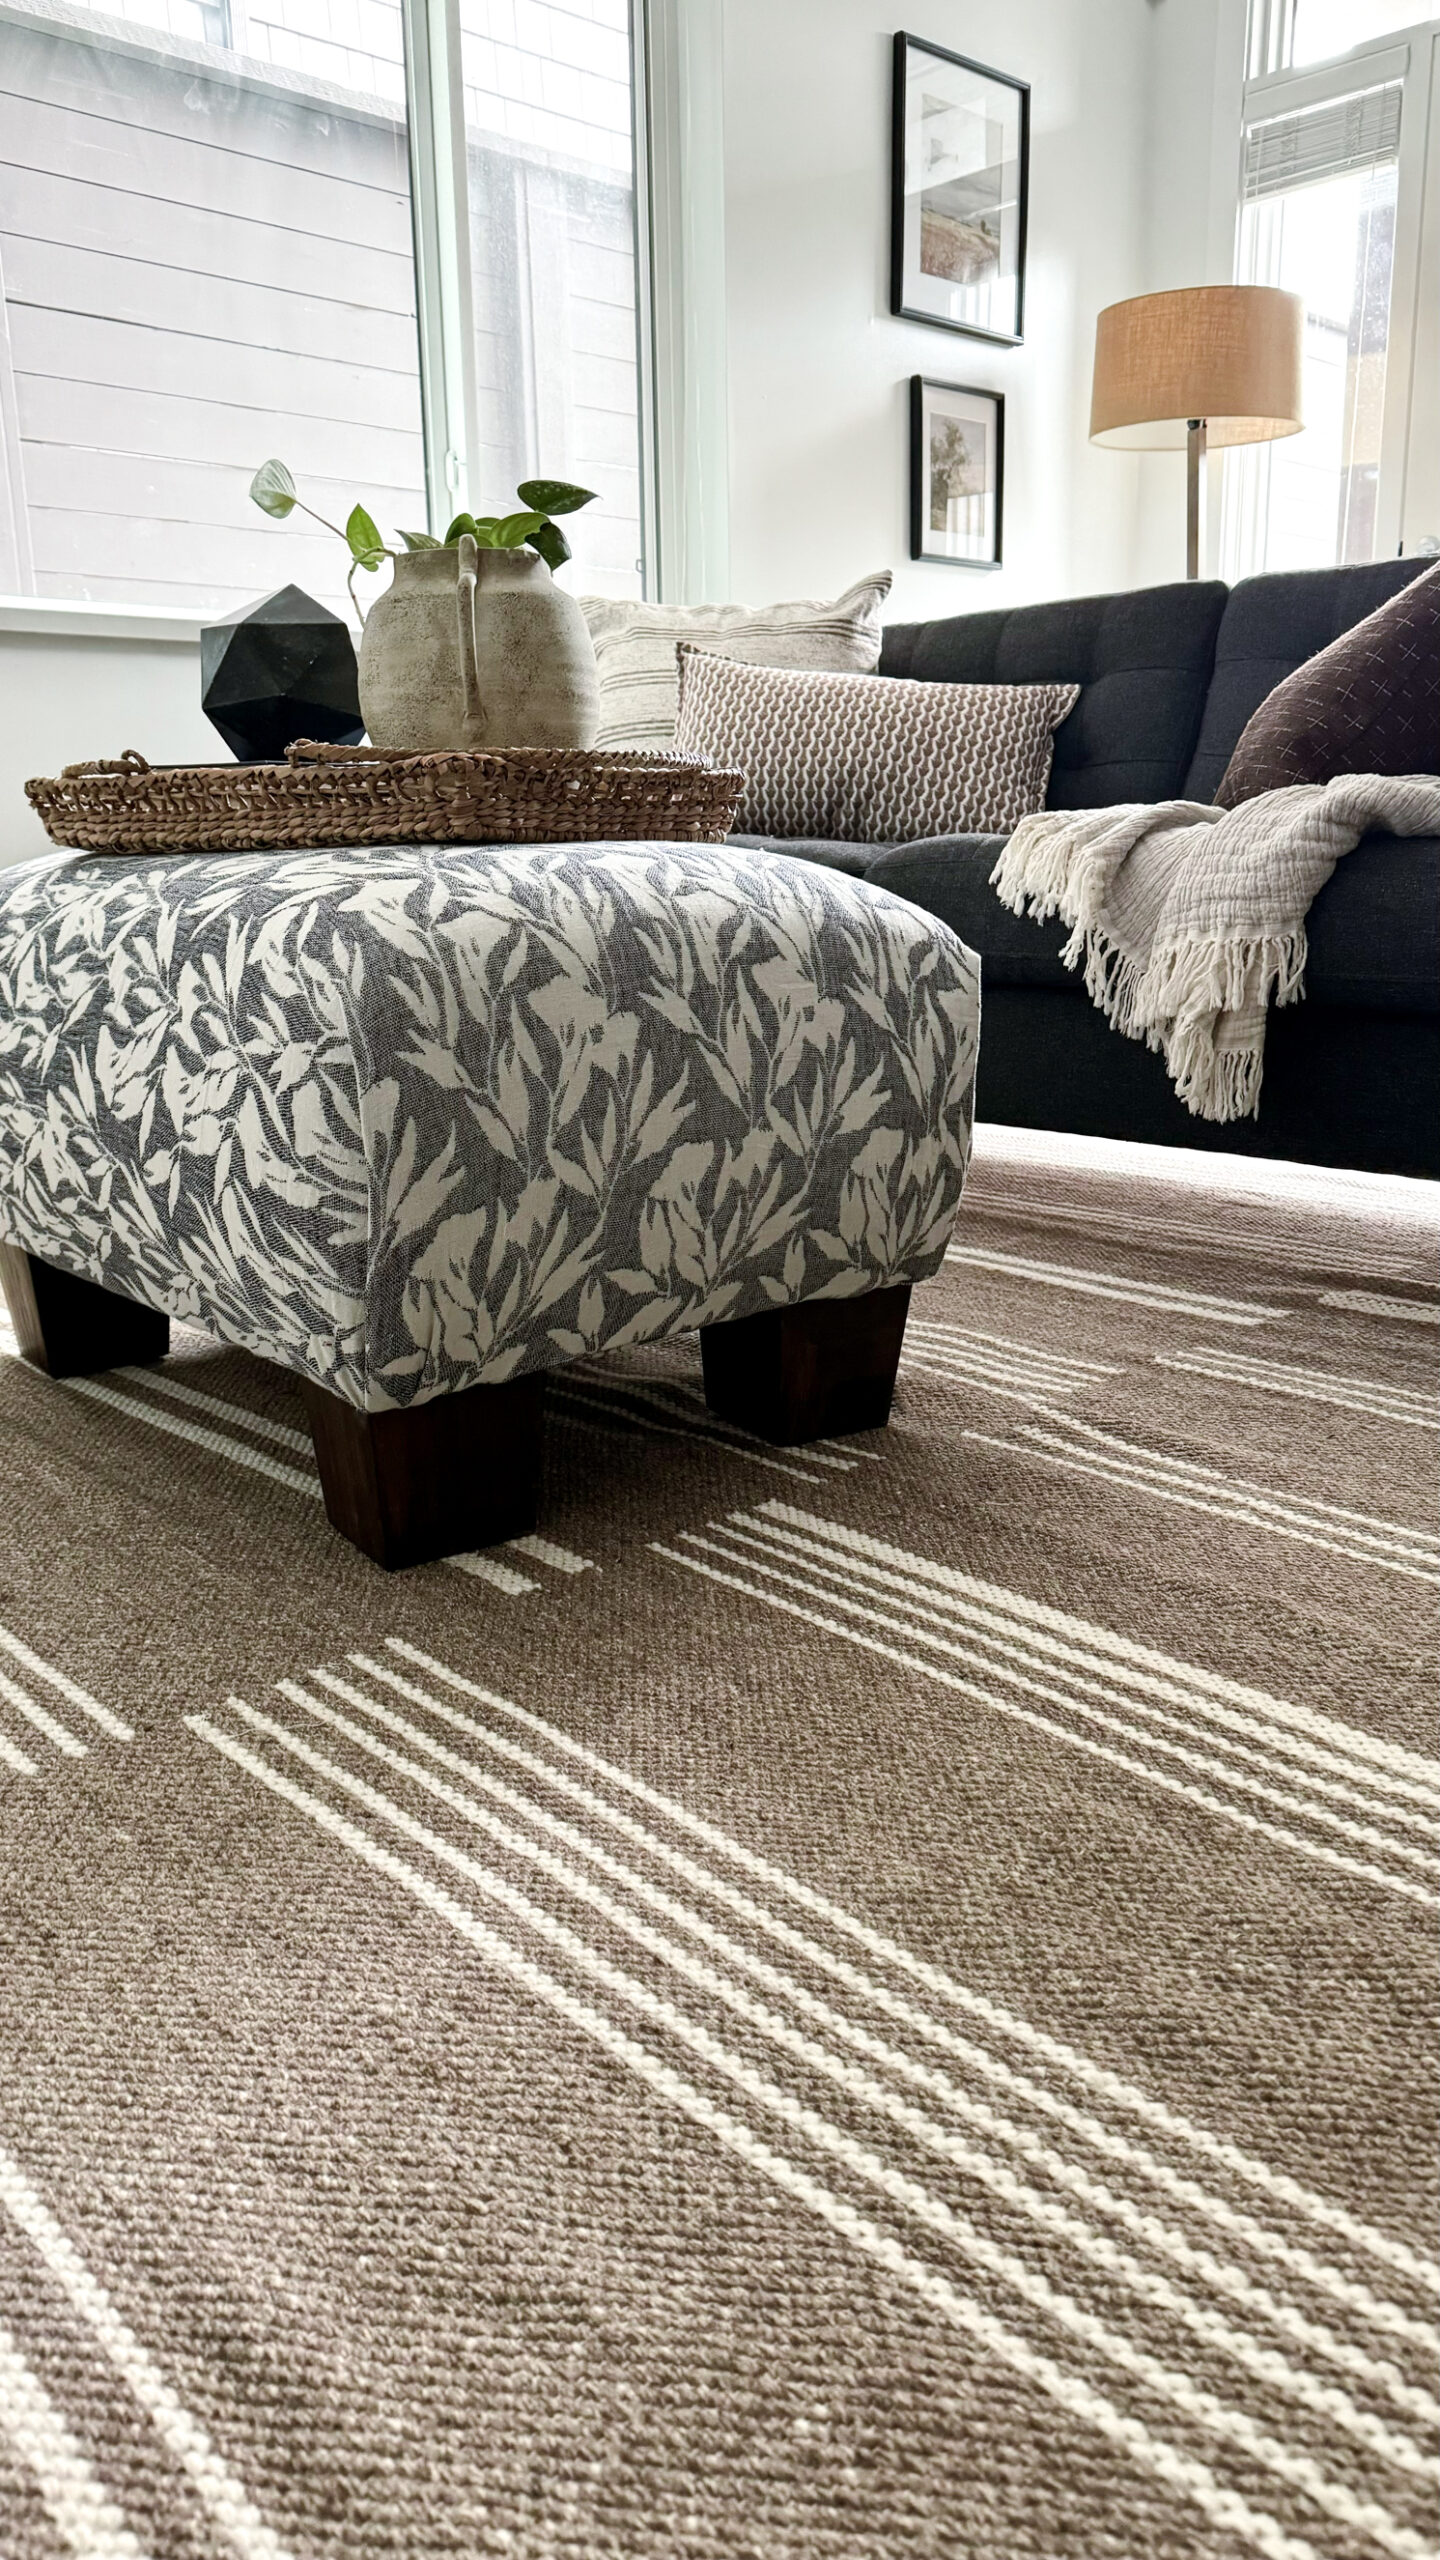
Fabric stores near me are essentailly non-existant. I have to travel far to get some fabric for a project. When I make it to the fabric store, I’ve learned from some experience that I tend to gravitate towards the pricer fabrics. Between my ridiculous taste in fabric and gas, it doesn’t always end up being less expensive for me to go this route. So whenever I need some fabric, I’ll go to HomeSense (or HomeGoods if you’re in the USA) and snag a $25-$35 blanket – this one was a HomeSense find for $34.99. You can also hit up Amazon for some good blanket finds. You may even have a blanket lying around the house that you rarely use but love the pattern of. The most important part when sourcing fabric to reupholster your ottoman, especially if you’re going the blanket route, is to make sure there is enough fabric to cover it.

How to Reupholster an Ottoman Without A Sewing Machine
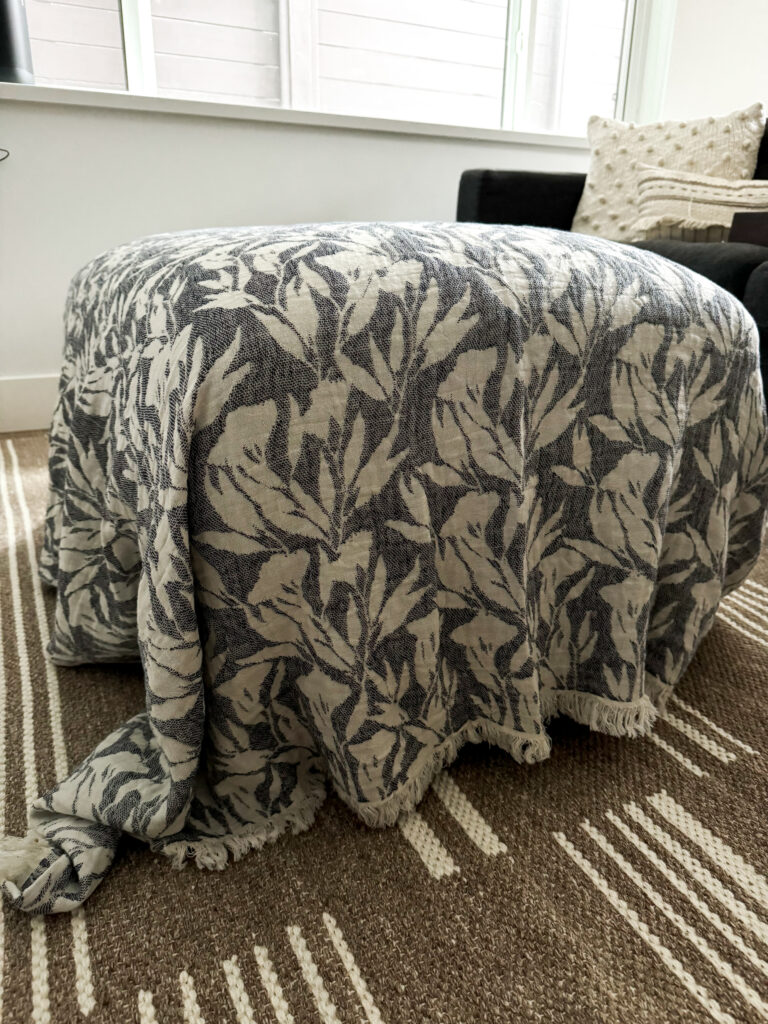
- Place your fabric over your ottoman and line up the pattern where you want it. I wasn’t too fussed about my pattern so I skipped to step 2. If you envision the centre of the ottoman having a specific pattern from your fabric, now’s the time to make sure it’s all lined up.
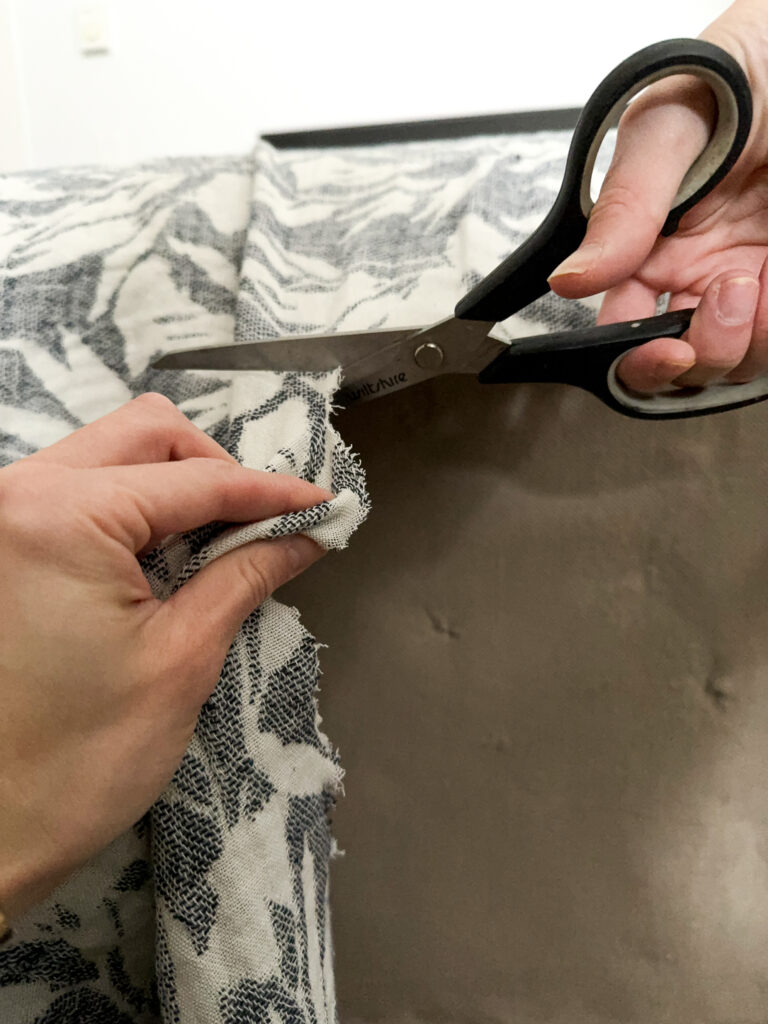
- Depending on how much excess fabric you have along the long edge of your ottoman, cut it off. You want to leave a little overhang just in case. I did this step each time I started a side to ensure I wasn’t cutting away too much fabric.
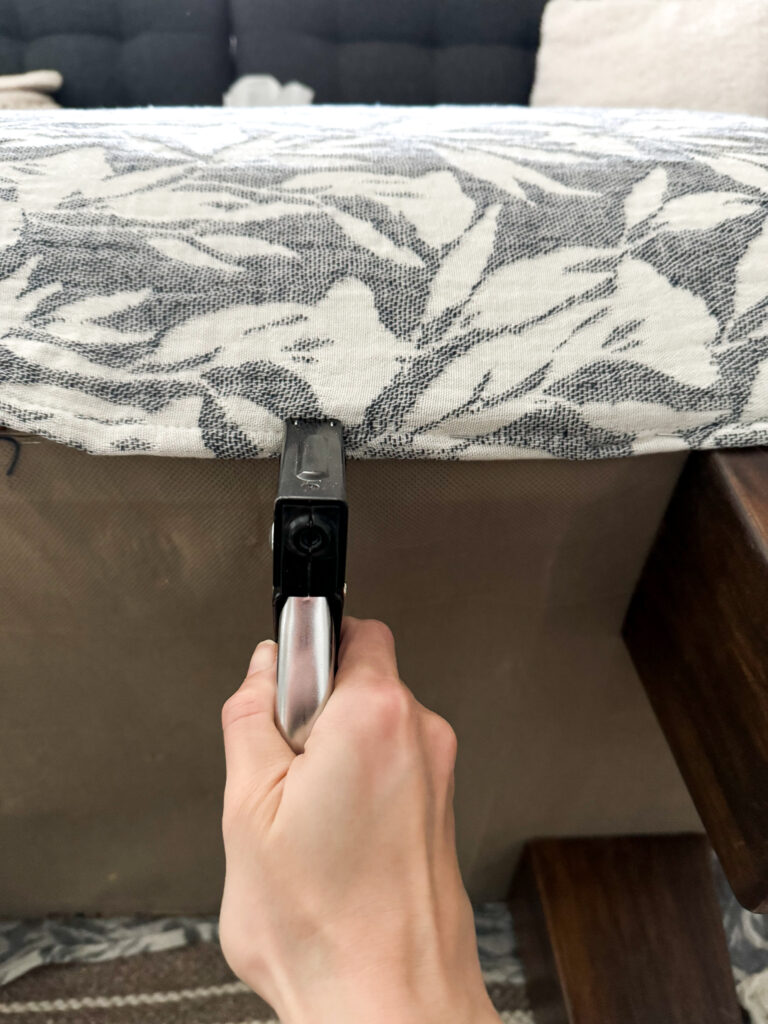
- Neatly fold the cut fabric under itself (for a clean line) and staple your fabric right on the bottom edge of your ottoman. I like to do the long edge first. Make sure you’re stapling your fabric in a straight line. I went about an inch between staples to ensure the fabric stayed even.
- Repeat steps 2-3 for the other long edge of the ottoman.
5. Repeat steps 2-3 for the other long edge of the ottoman.
6. Repeat step 2 for the short edge of the ottoman. Before stapling, fold the fabric from the long edge over. Similar to how you would if you were wrapping a gift or making a bed (pictured below). Then fold the fabric from the short edge straight down (pictured below). Make sure the fabric underneath is smooth. Fold the cut fabric under itself (for a clean line) and staple away. Staple the rest of the short edge until you get to the corner and repeat the beginning of this step.
7. Repeat steps 2 and 5 for the last corner.
8. *Optional: Take a hot glue gun and glue the folded-over corners to ensure they stay in place.
*The folded-over corners on my reupholstered ottoman are pretty tight and in this space, they don’t receive a lot of traffic so I didn’t glue my corners.
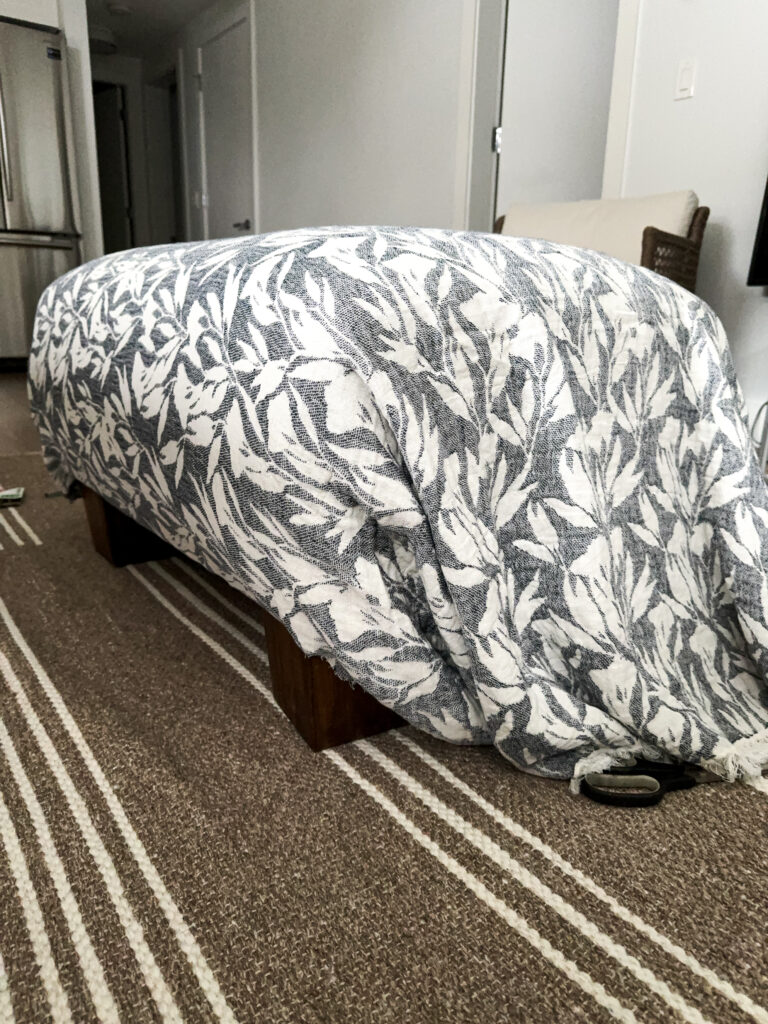
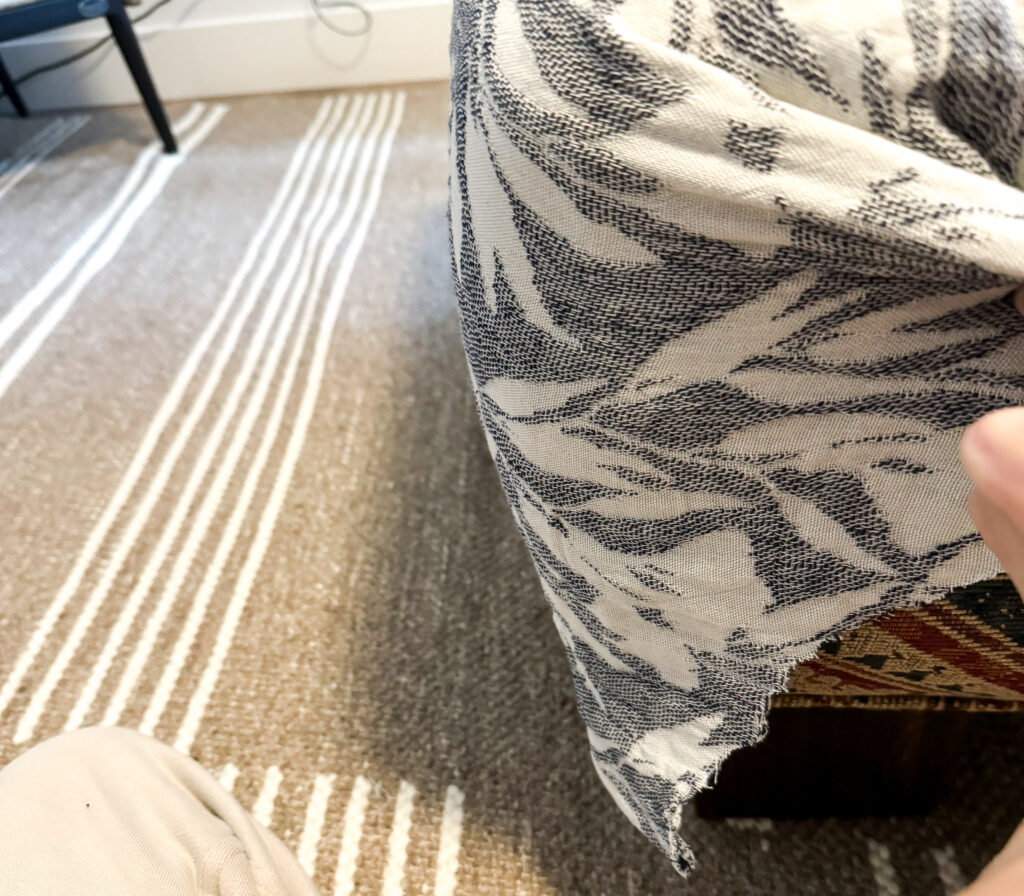
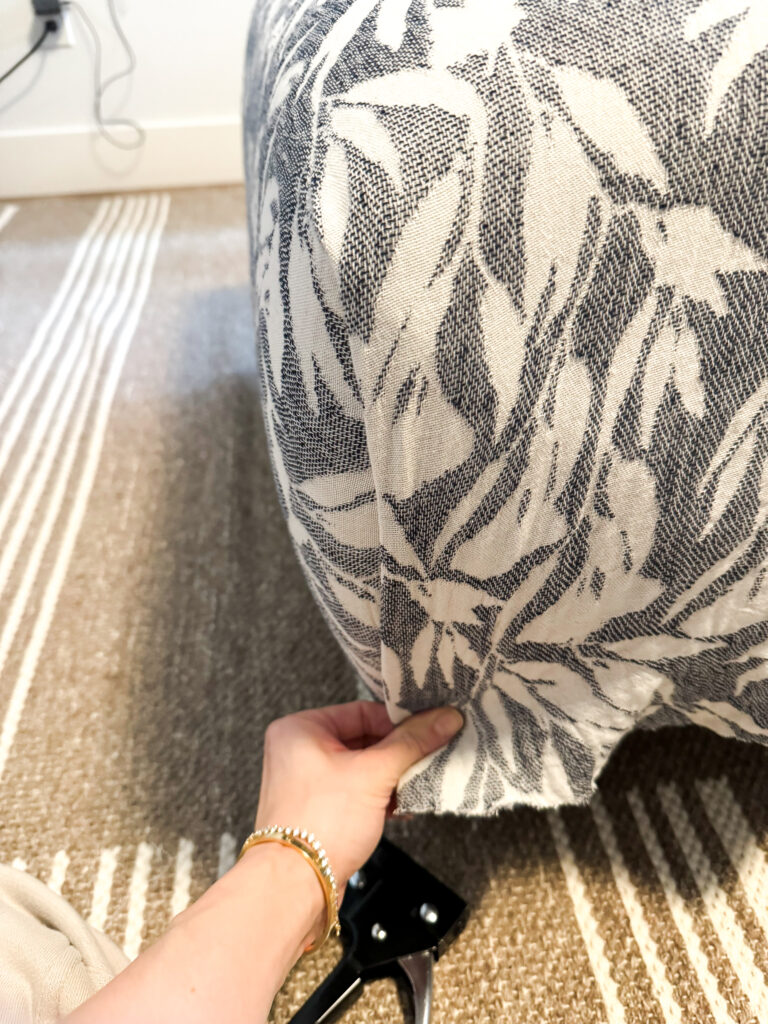
That’s it; it’s all pretty easy. I was pleasantly surprised at how little time this took (about an hour – it only took that long because I don’t have fabric scissors and my scissors wouldn’t cut the fabric well!)


I've been getting this question more and more - "I'm thinking of getting into DIY. What tools do you
Happy Sunday, everyone! Today I have another super easy project up my sleeve for you: a beautiful DI
The office reno is still a work in progress. A work in progress, meaning it is progressing in my hea


Leave a Reply