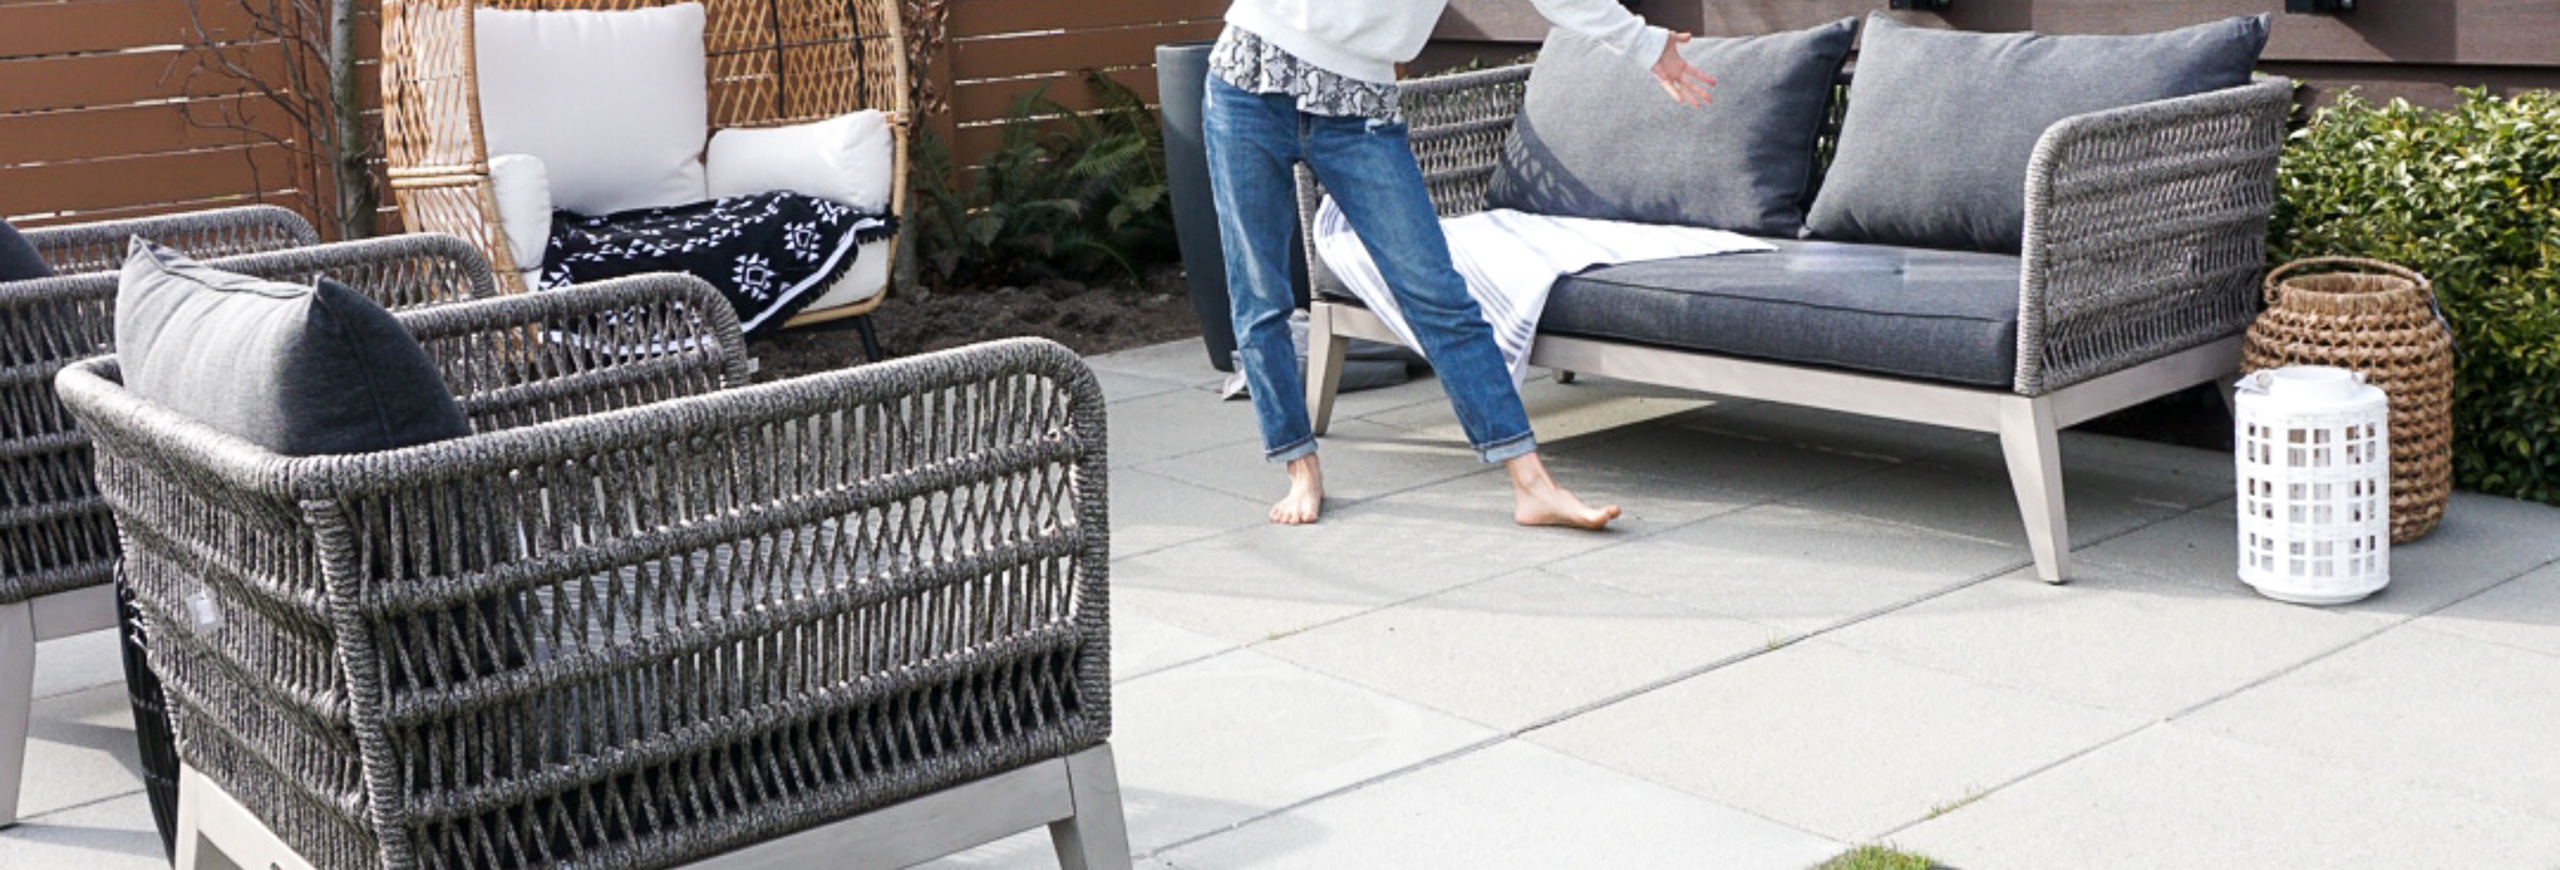
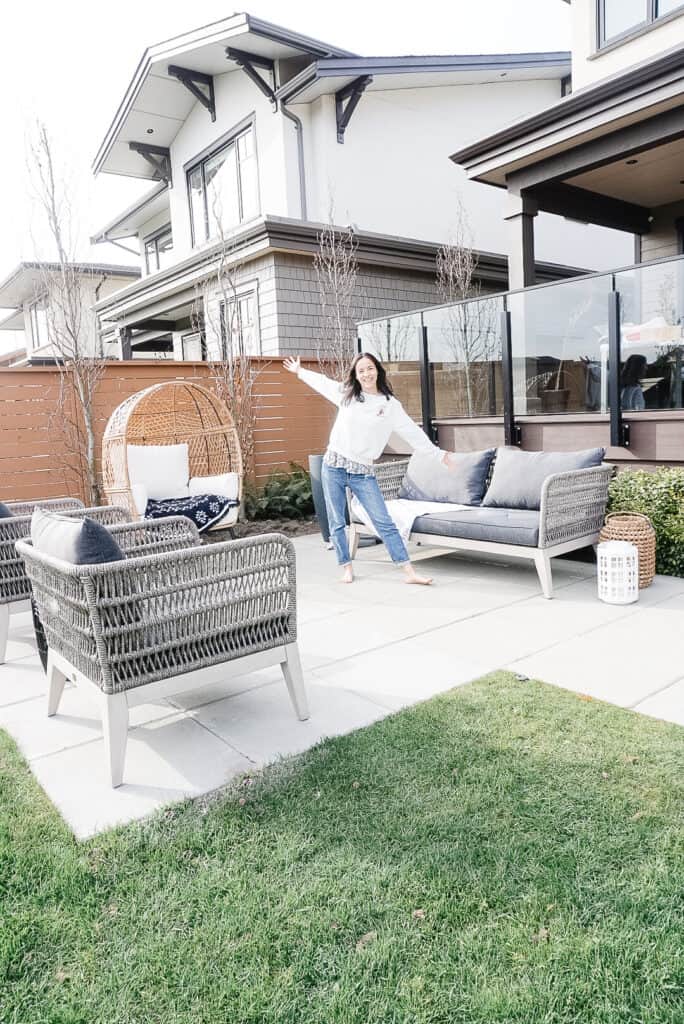
Outdoor spaces are so important this year. They are an extension of your home and a place you can safely get together with friends and family (at least in BC, currently you can). We’ve always known that our lower patio was a little bit useless in terms of how we could use the space (see below for the best before picture I have – working on my before’s and remembering to take them). Although the paving stones span the length of our yard, they did not provide enough width for us to put anything past a bistro set down there.
Pre-Covid, we loved entertaining and being outdoors but we lacked space to comfortably do so. Then came the idea to extend the lower patio to make enough room for a lounge set down below and a dining table up top. We received several quotes that were far beyond what we could comfortably wrap our heads around. Then along came our neighbours who mentioned they wanted to put in their own paving stones and wanted to see if we wanted to do it at the same time as them. Eventually, I got McGregor on board on this paving stone project, and off we went.
Exactly How Much Work Is Involving With Installing Paving Stones?
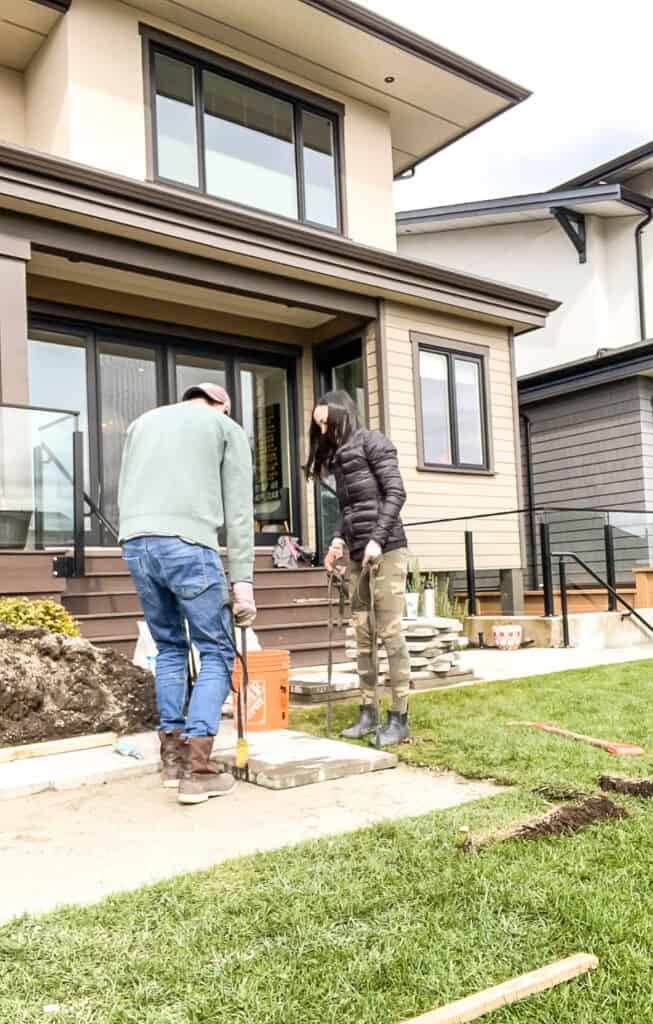
I am not going to tell you installing patio paving stones was an easy project. It was not. Mainly because of the physical labour required that went along with it – it required lifting 1,000’s of pounds. Installing patio paving stones also took a lot of patience and diligence. You’re leveling something you’ll be walking on for the next few decades – you want it to be as close to perfect as humanly possible. So if you’re up for these two tasks, then you can totally do it!
Here’s What You Need To Install Patio Paving Stones
*If you’re prepping an existing grassed area, you’ll need:
- an edger
- a shovel
Then you’ll need (provided there is only dirt in your space):
- 4 inches of 3/4 inch crushed gravel to fill your space ((length (in inches) *width (in inches)*4inches )/46656 = X cubic yards)
- 2 inches of bedding sand to fill your space ((length (in inches) *width (in inches)*4inches )/46656 = X cubic yards)
- an electric tamper (rented – pictured below)
- a hand tamper (rented)
- paving stones (source what type, what shape and measure how many stones you need)
- tie downs (that have nothing on one side so it can slide out underneath your paving stones)
- a level
- 2×4 (can be an old piece that’s an appropriate size for your space- you’ll use it for scraping and leveling it)
- Paver joint sand
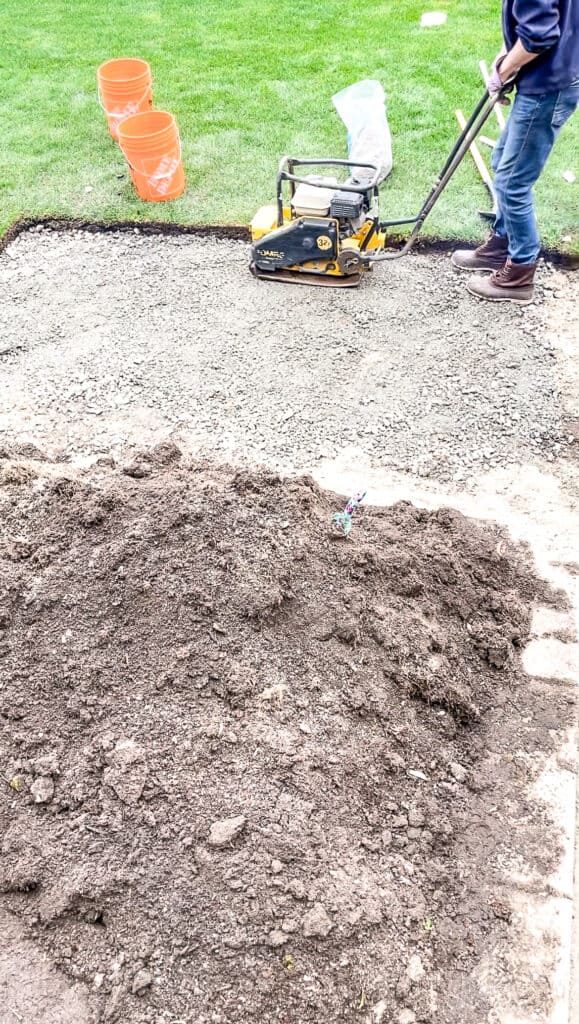
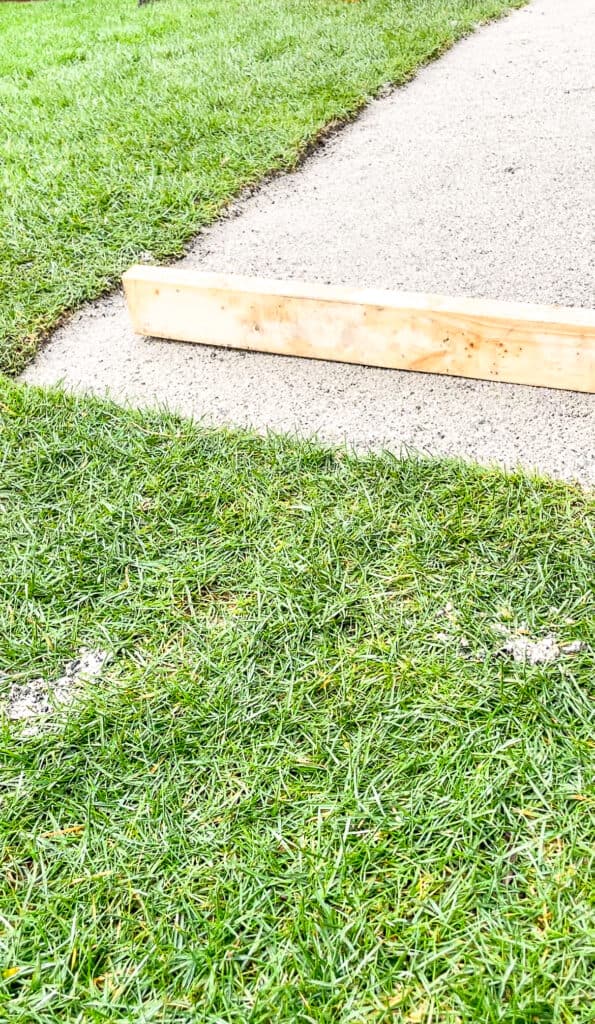
Here’s How to Install Patio Paving Stones
*Start here if you have grass you need to remove; if not, skip to the next section.
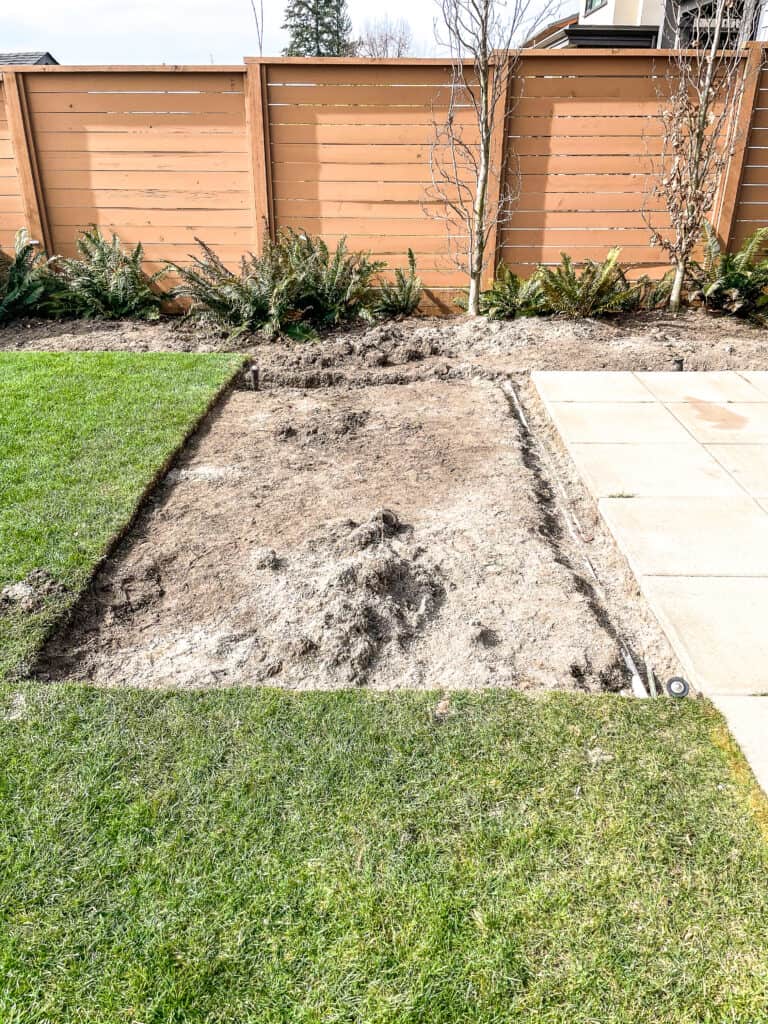
1. Measure the area of grass you will need to remove to get the correct amount of pavers in (hint: our pavers were 2X2, and we wanted to add 3 more rows of pavers and another 6 across – so 6 ft and then another 12 ft across). Using the edger, cut through your grass in a straight, even line.
2. Once your grass has been edged along the outside; you can edge it into manageable square sized pieces (use this method especially if you intend to reuse the grass)
3. Using the shovel, gently dig up the grass and pile somewhere out of the way.
**Start here if you don’t have grass.
4. Once your grass has been dug up, shovel out the dirt until you are about 6 inches below the bottom of your adjacent paver (or 6 inches below the ground surface if you don’t have any pavers you’re going off of).
5. Add your crushed gravel into your newly dug hole until you have 2 inches of height left.
6. Using your electric (or hand) tamper, tamp the gravel down. Add more gravel if it’s dipped below your inches of height that’s remaining and repeat the tamping process.
7. Add sand (trying your best to make the top layer even) and tamp again.
8. Now beings your leveling process. Grab your 2×4 and your level. Take your 2×4 and place it somewhere on your sand pile. Place your level on top of your 2×4. If it is not level, add or remove sand where ever necessary. If you take the 2×4 and scrape it along the surface, it will also help naturally level the area.
Note: You want the level to be in between the middle lines, but you also want the slightest slope away from your house to help water not pool and move away from the house.
9. Once you’re decently satisfied with your leveling job, grab your first paver (you will ideally have two people for this). You take your tie-downs and place them under the paving stones (as pictured). You will want to make sure the flat sides (i.e., the side with no hooks etc.) are both on the same side (so you can pull out the straps, sliding them underneath the pavers easily. Lift your paving stone using the straps and place it down exactly where you want it to go.
You have two checks here :
Check 1: Use the level to make sure it is even – if there are other pavers in place, check that it is level with the other pavers in the area (as you add more, always make sure to check that it is level with the surrounding pavers).
Check 2: step on all corners and sides of the paving stone to make sure it doesn’t rock.
If the paving stone is not level or if it is rocking, figure out where you need to add or remove sand, lift the paver off – add/remove sand, and then try again. You can also scrape some sand using the 2×4. Repeat your checks until you are happy with your paving stones.
When you are satisfied, pull out the tie-downs and move onto the next paving stones.
10. Repeat until your entire area is complete.
11. Fill the cracks with paver joint sand.
12. Set up your patio and pour yourself a drink because you’re done! Great work!!!
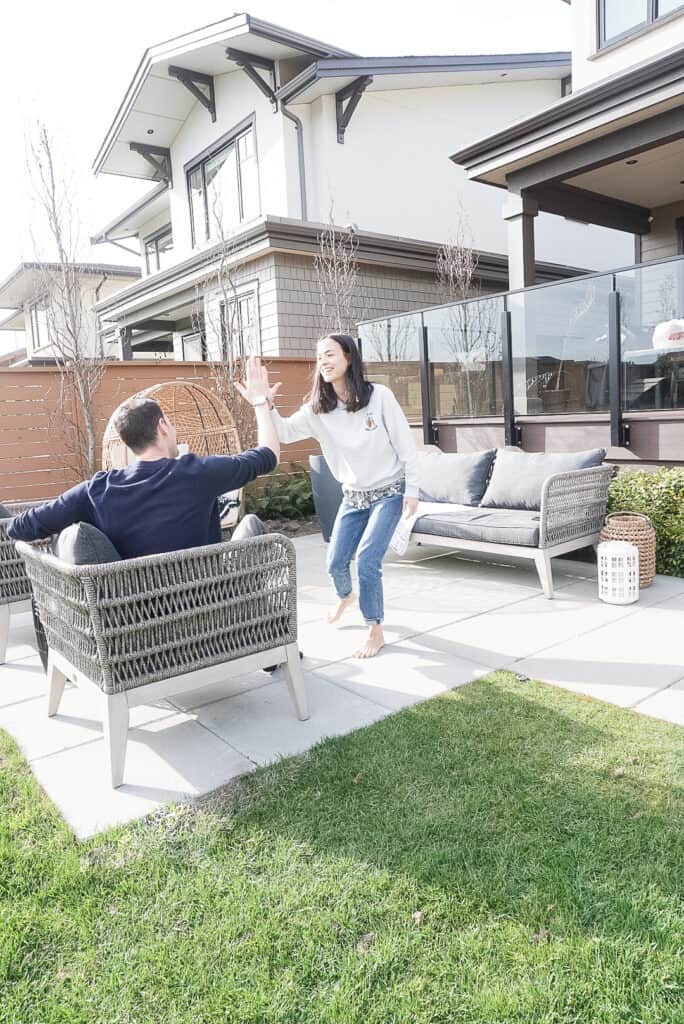
That’s it! You did it! Enjoy those well-earned summer moments on your beautifully new patio? walk-way? – whatever you’ve created, enjoy every moment. If you want more, I’ve saved a highlight to my Instagram profile. Once you’ve done yours, tag me in it @signedsamanthaxo – I would love to see!

You were doubting that this was actually an office for a while, weren't you? Honestly, I was too. Un
This week is a Sun-D.I.Y that literally everyone can do: winter pots. I know there's always concern
M ore progress has been made in home office 2.0. We have a complete murphy bed situation along with



Erin
I love this idea & your patio looks phenomenal – great work lady!! Patio/porch space has become so important throughout covid (when it’s one of the only outdoor options you have!) so having a nice space to relax/ enjoy the outdoors is essential.