
Another Sun-D.I.Y for the books. I may pause the Sunday D.I.Ys after this one as the inspiration for my next one hasn’t struck yet. I was on fire for a while there between the D.I.Y vase, the painting, the planter basket, and the wreath. Don’t worry – once it does, I will be back with more. Anyways, I’m so excited to share these D.I.Y boho coasters with you.
I’ve been searching high and low for some non-offensive, inexpensive, non-stone coasters. Again, life with a toddler makes the littlest things more challenging, part of which includes coasters on your coffee table. Actually just having beverages around her on the coffee table is a challenge, so there’s that to work through as well.
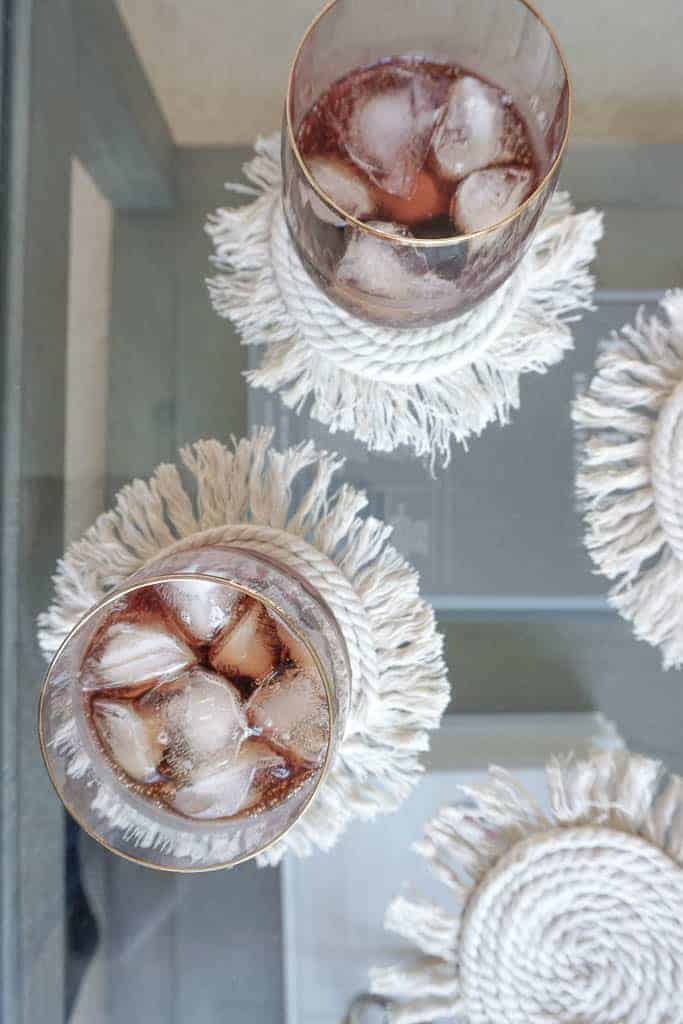
But anyway, I also wanted coasters to be conveniently located somewhere for us to use once Sloane goes down for a nap or to bed. As these coasters are temporary for us (eventually, I’d love some stone ones back, once she learns the dangers of breaking mama’s glass coffee table!!), I couldn’t fathom spending a ton of money.
Anything I found that was inexpensive was ugly, and anything I liked cost a small fortune. I knew I could make something trendy and affordable. Enter these D.I.Y boho coasters.
Since I knew it’s rare to be the first to come up with anything these days, I searched around on Pinterest and found some beautiful ones like these but really did not want to spend approximately 239574678439 years learning and creating the proper knots on repeat to make it.
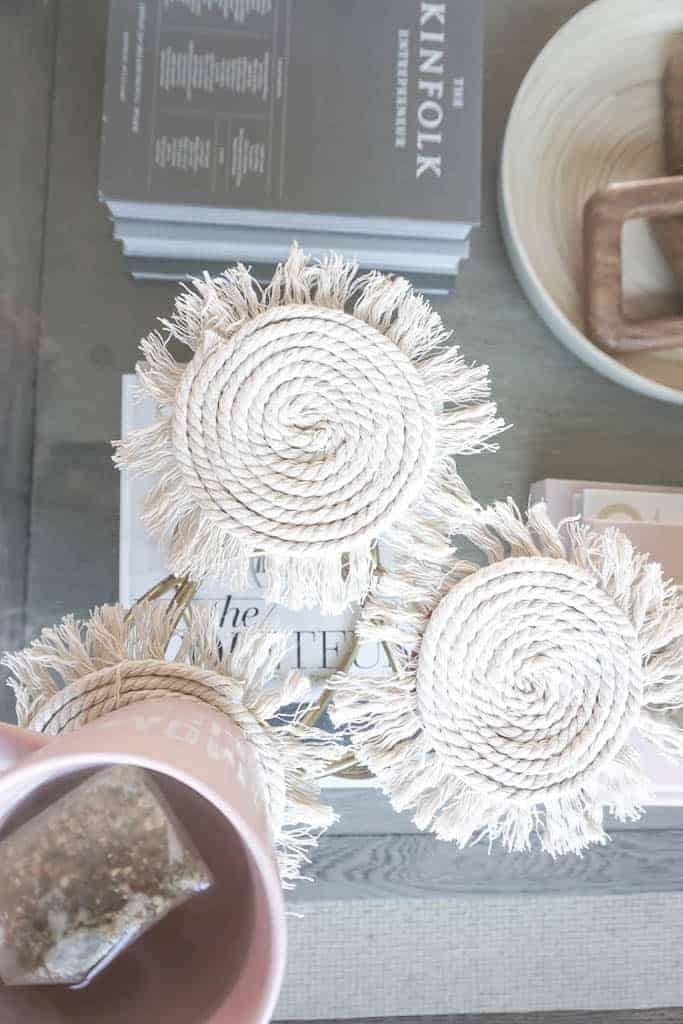
Starting With a Very Boring, Very Inexpensive, Very Meh Coaster
When creativity and laziness meet, you get my D.I.Ys. Actually, there was a zero percent chance you’d find me sitting there knotting away over and over and over again. I know myself too well; I’d get through one coaster and that would be the end of that. At one point in my life I totally would have seen it through, but when these projects need to be completed during nap time, they need to be efficient!!!
Okay – side story: before I decided on all of this, I was at Ikea, and I found these very inexpensive cork coasters. I didn’t love the look of them, but I loved the price. So I really did have a partial solution in that moment. I purchased them and once they were home decided I really wasn’t into them. I gave them to Sloane so they could be her toy.
So I caved and went with the option I didn’t want – the inexpensive, less attractive one, but yeah, needed to fix them up… Which ultimately worked in my favor.
Coming Up With An Easier D.I.Y Boho Coaster
So I either needed a way to re-create those beautiful coasters (I saw above) without the time and effort put into them or I needed a way to re-purpose what I purchased. I won’t lie; I believe the ones I referenced above will withstand the test of time, but mine will not. I’m sure they will need to be replaced in a year or two, or the fringe will have come out, or Sloane will have peeled them apart, or whatever may happen to them.
However, for approximately $15.00 and two hours (to make 8), they serve their purpose.
In coming up with my own strategy for these beautiful D.I.Y boho coasters, I knew I could use my Ikea purchase and my hot glue gun. All I needed was some string.
At certain times, I have complete moments of genius… this was one of them.
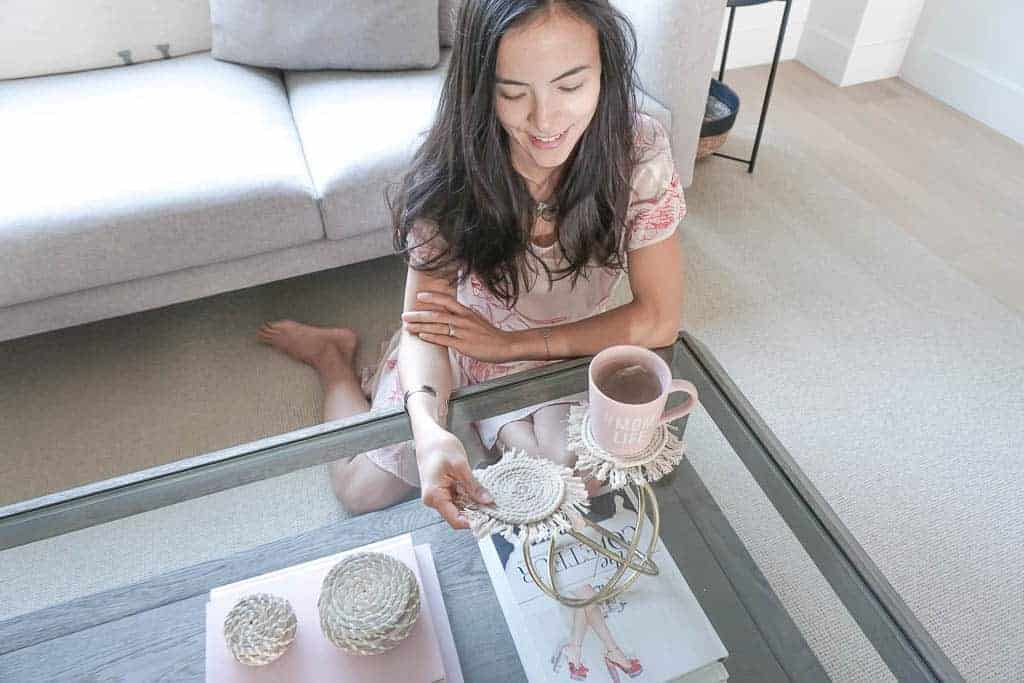
Then I showed my friend and she out-genius’ed me (yes, it’s a word today) and said they’d also be so cute under diffusers! Which they would be and you could totally make these larger using the Ikea hot plates (would just be super thick!). But a few of these have made their way underneath candles at my house.
Needless to say, these are versatile and can be practical or decorative, or both! Below outlines how you make them.
How to Make D.I.Y Boho Coasters
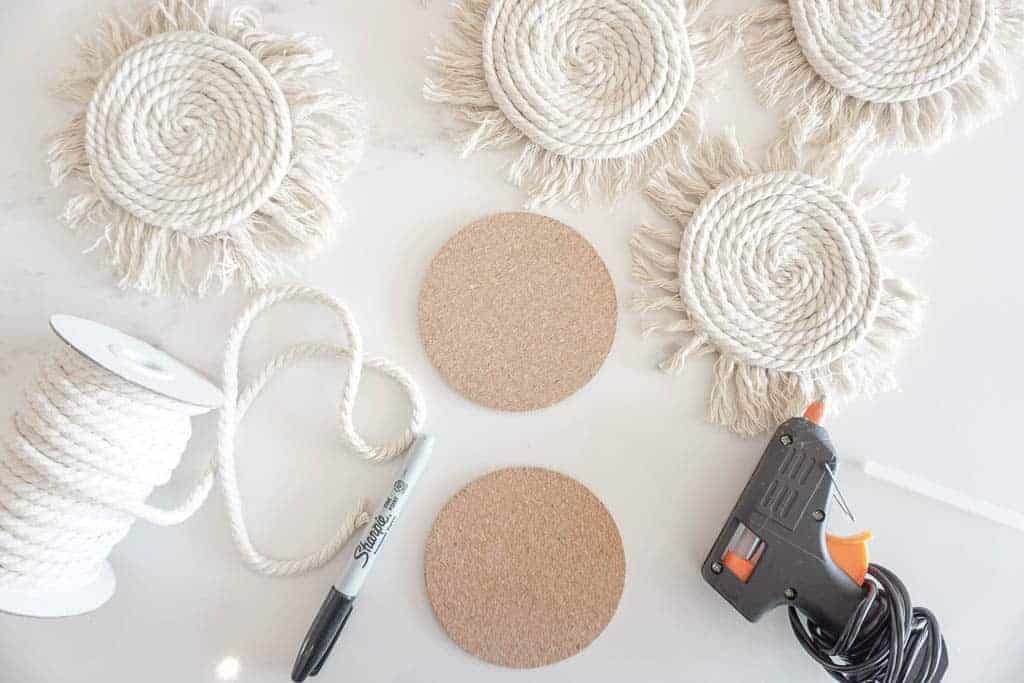
Materials
+ Two sets of Ikea cork coasters
+ Sharpie
+ Hot Glue Gun
+ A crapload (technical term) of glue sticks
+ Scissors
Instructions
1. Mark the center of your coasters with a sharpie (I drew an “X” to find the center).
2. Cut the edge of your macrame so you can fray it. Start fraying your macrame until you’ve reached 1.5-2 inches long and cut that piece off. Gently place it on your coaster with an inch of the fray hanging off of the edge. Repeat this process until you’ve wrapped the whole coaster.
3. Take your glue gun and add glue onto the portion of the fray sitting on the coaster. Then, swiftly add glue to your coaster’s outer edge. Place the coaster over top of the frayed macrame that has the glue on it and press firmly. Flip and remove (what was the bottom but is now) the top coaster.
4. Add glue into the middle spot that you marked and take your macrame and snugly coil it around. Keep adding glue and keep coiling it around until you reach the end of the coaster.
5. Once you’ve reached the end of the coaster, cut off the macrame, and gently glue the fray together, and glue the end of the string to the coaster.
6. You can gently pull on the fray to make it look perfect – a few pieces may come out, but there shouldn’t be a lot that comes out. If there is, I would suggest you did not use enough glue. Remember, the quantity of glue sticks was “crapload.”

Okay, so while the holiday decorating is in full force on IG, I am not quite there yet. Last year th
As many of you are well aware, it was McGregor and my anniversary on Wednesday (if you missed it, he
Let's be honest here. I am not the world's best sewer. Having not picked up a sewing machine since h
Comments
-
-
Samantha
Ahh thank you! I’m pretty obsessed with them to say the least LOL. You can totally try them out – they are easy to make for the non-DIYers!!!
-



Erin
These turned out so cute (perfectly Pinterest worthy!). & you make it look so easy! I will definitely have to try out making these asap.